
Is your Nintendo Switch making weird noises? Getting really hot to the touch? Overheating every time you try playing games in docked mode? Congratulations. The fan inside your Switch is probably busted. At least that’s what happened in my case. Based on the research I did, it seems like this is an unfortunate reality for many Nintendo Switch owners.
A broken fan sucks, but it’s not a death sentence for your console. Even if you’re out of warranty, this is something you can probably fix on your own. I went through this process myself and it addressed all of the ailments my Switch was suffering from.
If you’re willing to perform this procedure on your console, here’s a step-by-step guide to follow along with!
NOTE: Going through this process will void your warranty. If your console is still under warranty, maybe consider taking advantage of Nintendo’s repair services if they’re available to you. If you’re out of warranty, you can still send it to Nintendo, though the repair is much more expensive and probably slower than buying all the parts and doing the repair yourself.
With that disclaimer out of the way, let’s get to it!
What you’ll need
- Replacement fan. There are many different options online from brands you don’t recognize and that vary wildly in price. I bought this one off of Amazon and it works great.
- Phillips PH00 screwdriver
- Triwing Y00 screwdriver. I bought this set on Amazon and it had everything I needed.
- Thermal paste. I guess any would do, but I used this one that you can buy here.
- Rubbing alcohol
- Cotton swabs
- A softer surface you can put on a table as you work with the Nintendo Switch screen-side down. I used a bubble mailer, but you can probably do better.
Before you start tearing into your Switch, make sure it’s turned off. Putting it in sleep mode is not good enough. Turn it completely off to avoid electrocuting yourself.

Using your PH00 screwdriver, unscrew all of the screws around the perimeter of the console. There are five screws on the left, five on the right, two at the bottom, and one at the top.
Place your Switch screen-side down. Using your Y00 screwdriver, remove the four screws on the back corners of the console. You won’t need the Y00 screwdriver again until you need to put the back plate back on.
Flip open the kickstand. Remove the screw underneath the micro SD card slot. This one is really easy to miss, so don’t forget it!
Starting from the bottom side the with USB-C plug, carefully lift the back plate upwards towards the top until the back plate pops off.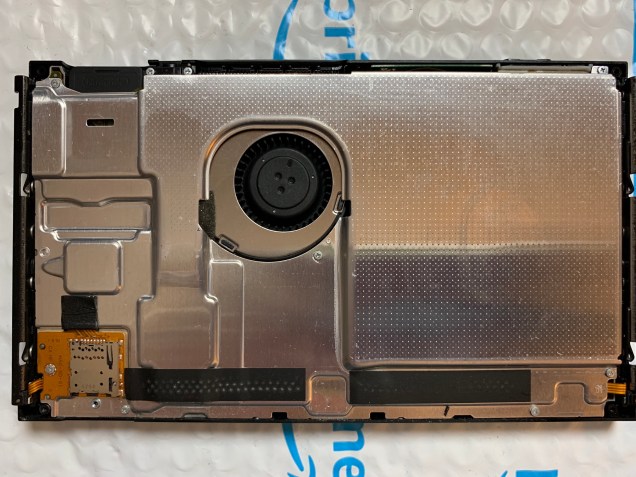
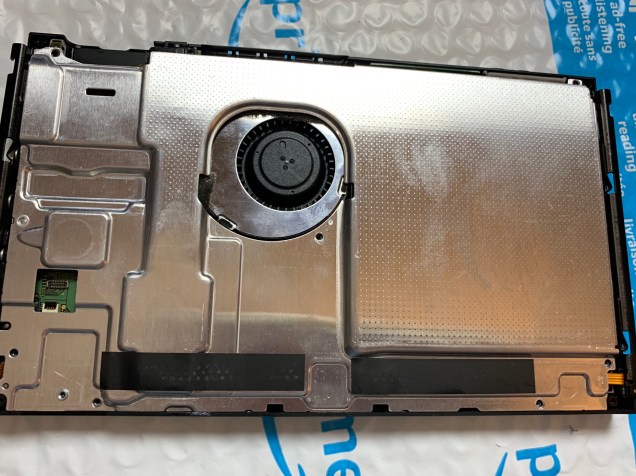
Most of the innards are protected by a large metal plate. You can see the fan poking through the middle. You’re going to want to remove this back plate and the yellow board that houses your micro SD card. Remove all the screws from the back plate and the micro SD card slot. Once they’ve all been removed, carefully remove the plate and micro SD card slot. Set them aside.
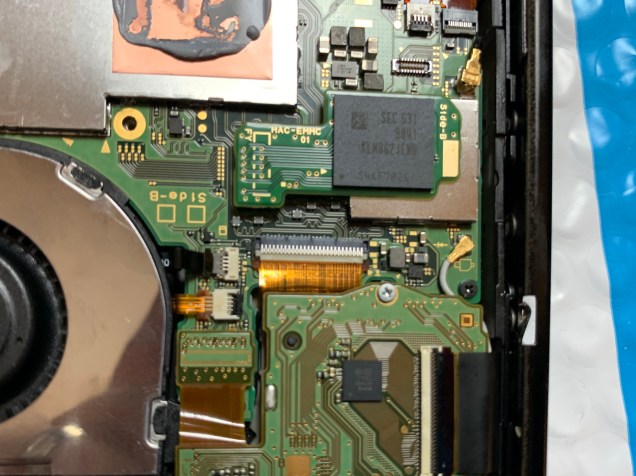
With the guts of the console exposed, we can really dig into the nitty gritty.

Next major step is to remove the heat sink. It’s attached to the board with three screws by the thermal paste. Remove those.
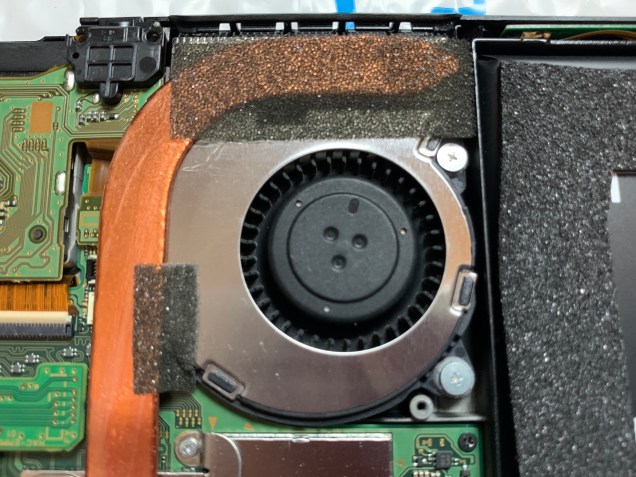
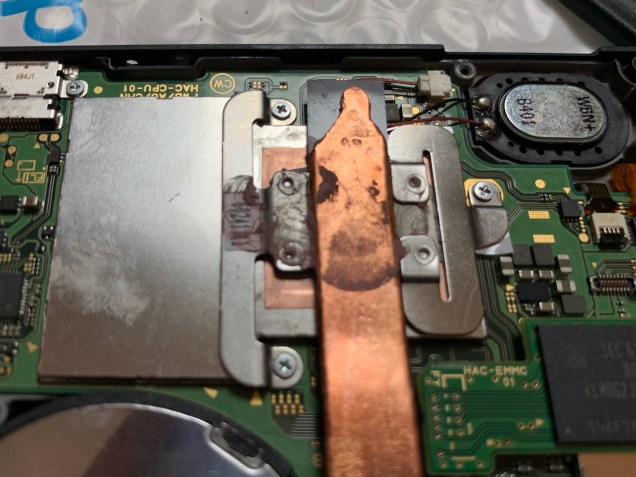
Now it’s time to remove the tape around the fan. Be careful here, as you’ll need to put this back into position. If you bought the kit I linked to above, use the black plastic piece to help nudge the tape off.
After removing the tape, you should be able to remove the heat sink. Put it aside.
You now have a clean angle at two of the three screws holding the fan. Remove those.
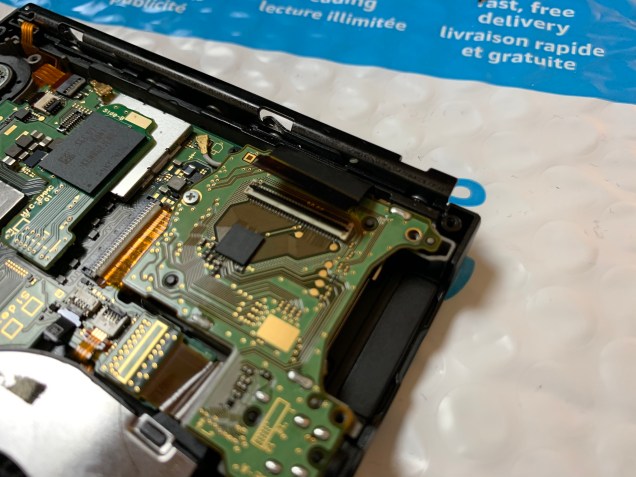
On the corner of the board is a section with two screws and a large black ribbon. Remove the screws. From there, carefully, flip over the black lip holding the ribbon and disconnect the ribbon.

Unfortunately, I did not get a good picture of this next step. After removing the two screws, you’re going to need to twist this board to the side a bit. Underneath is the third screw holding the fan. Carefully twist the board, allowing the ribbon to bend a bit, and remove the screw.
The only thing left holding in the faulty fan now is the small black ribbon connected to the motherboard. As you did with the other ribbon, turn over the flap and disconnect the fan. With the fan finally free, remove it.
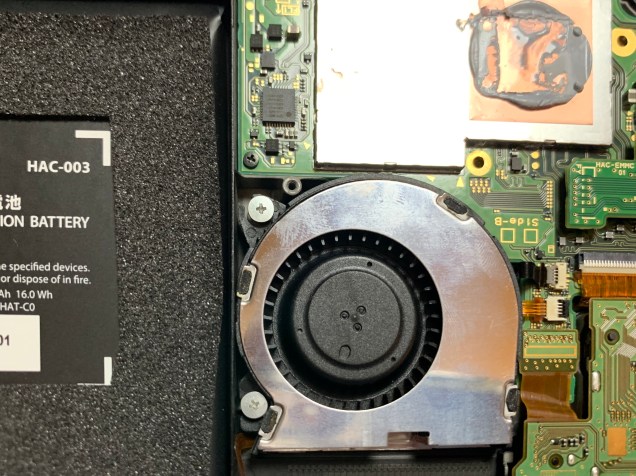
Place your new fan where the old fan used to sit. Fasten it with the three screws. Reconnect the fan to the board by reattaching the ribbon.
Reattach the two screws and the large ribbon to the side of the fan.

Before reattaching the heat sink, let’s clean off the thermal paste that’s already on there. Odds are, there isn’t much of it left anyway. Apply a bit of rubbing alcohol to the end of a cotton swab and clean off what’s left. Apply a fresh layer of thermal paste on the spot you just cleaned.
Place the heat sink back into its position. Screw the heat sink in.
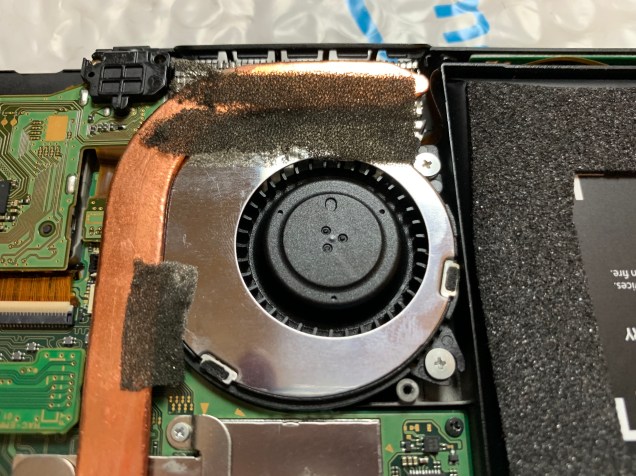
Return the tape back into place. As you can see, I didn’t do the best job removing the tape, which is why my top tape is frayed. Don’t be like me.

Clean off any legacy thermal paste from the top of the heat sink. Apply a new layer.
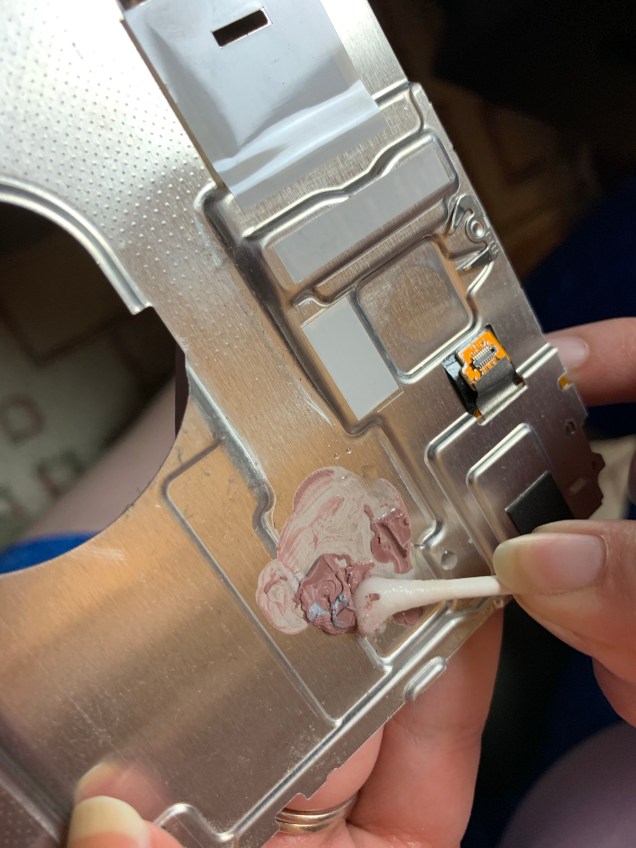
Before we put the metal plate back on, make sure to clean off the old thermal paste on it.
Place the metal plate back into position and reattach all the screws.
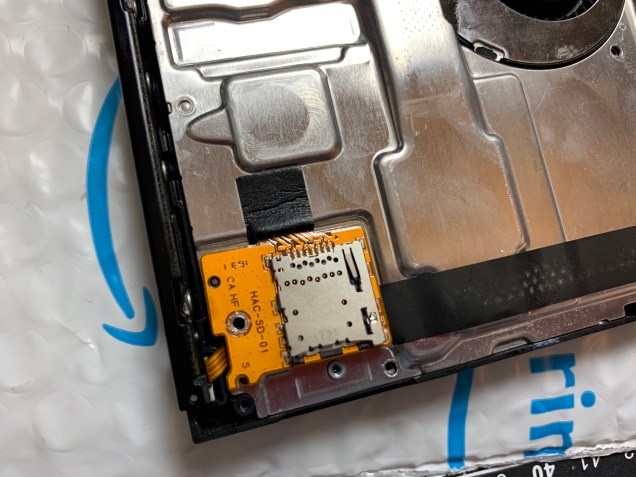
Reconnect the micro SD card slot to the board by pushing the black foam piece into the motherboard. You should feel a click. Then screw it in.
Finally, snap the back plate in and screw the casing together.
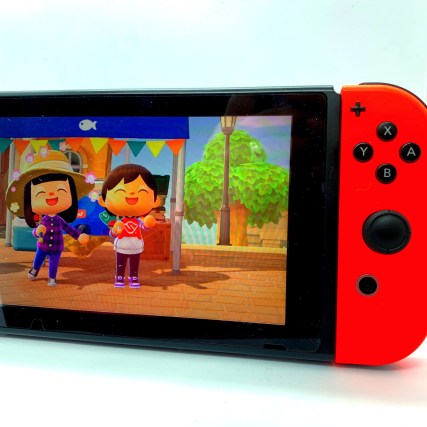
Voila! Your Switch should be able to breathe again! When my fan was broken, my Switch would overheat within 30 minutes of docked play. Now it’s back to holding up for extended gaming sessions. Fingers crossed that you can fix your Switch too!


[Purchasing through this Amazon affiliate link gives me a small commission without adding any extra cost or effort to you. Thanks for your support!]

Assuming you’re in the U.S. taking apart a console does *not* void your warranty. “Warranty void if removed” stickers are illegal in the U.S. Check your countries laws on the “Right to Repair.” if outside the U.S.
https://www.digitaltrends.com/computing/ftc-warranty-stickers-illegal/
I am not in the US and I live in a country that currently does not support Right to Repair. That said, you make a valid point. Thanks for the comment!
I did this and now I get a error code. My switch won’t work anymore.
Just followed this guide and it worked like a charm! First time doing anything like this so I was a bit nervous but the new fan works perfectly now.