
Do you like to…do-it-yourself?
With a host of new parts and my old rig sitting on the dining table, I was about to embark on a PC project larger than anything I’d taken on before: build my own PC from the ground up.
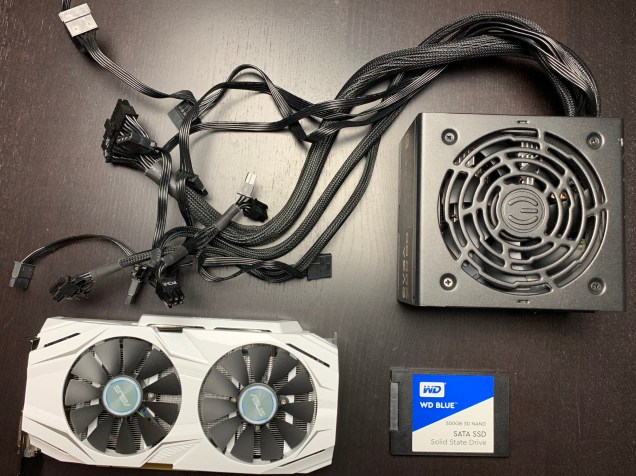
First on the docket: salvage the good parts from my old PC. My EVGA power supply had plenty of headroom for the next rig. Needed the SSD to help migrate some of my key files and profiles over. Last but not least, the ASUS GTX 1060 graphics card. Still a powerful piece of kit, though I bought it just before NVIDIA rolled out the RTX series cards that feature a superior streaming encoder. For now, the 1060 should do while my new gear picks up the slack.
Having installed these parts beforehand, taking them out was a piece of cake. Putting them into a new box with a whole host of parts I’ve never worked with before proved to be the real challenge.

Didn’t make the process any easier for myself when I took this picture. Granted, it’s a great shot with all of the new parts. What I didn’t account for was the pre-applied thermal paste at the base of the cooler. Right after taking this photo, all of the past was smeared on the table. At least I had extra thermal paste from the Nintendo Switch repair from a few months back.
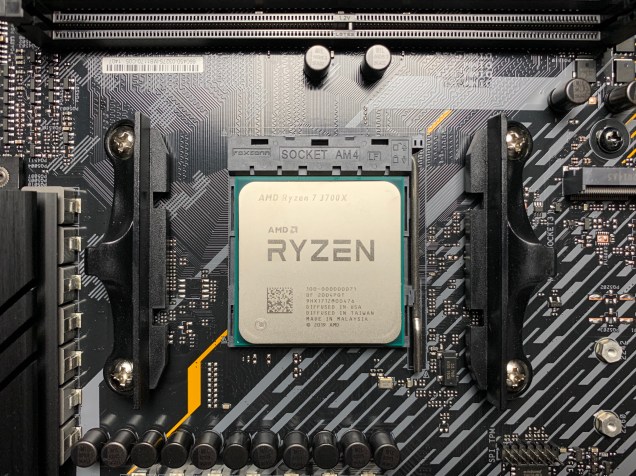
Speaking of which, installing the CPU was the coolest part of the process. Well, this first part, anyway. With hundreds of pins lining the underside of the chip, it’s the only piece that fits perfectly in place with no extra wiggling, pushing, or renegotiating. Afterwards, I pulled down the lever to lock it down.

Immediately following that was a step not-so-pleasant. Attaching the cooler to the motherboard was a pain. Using the hooks attached to the cooler, there’s barely enough slack to lock it in. It’s a snug fit when attached, but it feels like something could break in this process.
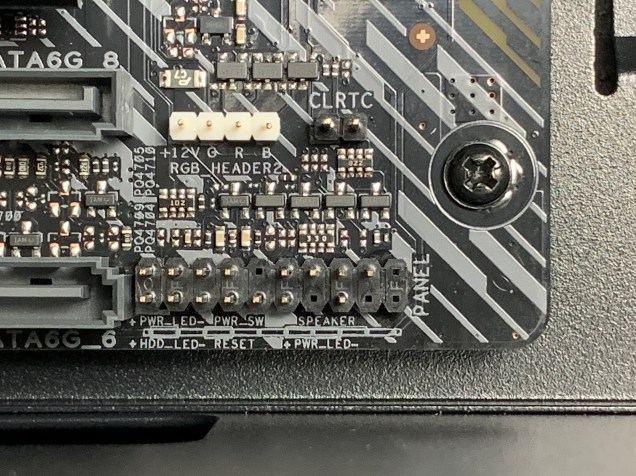
Another annoyance in the process was this section of the motherboard that controls system lights and speakers. The plugs you end up using will depend on your case. Though I’ve been told that some cases consolidate this into one plug mine came with a number of single-prong plugs instead. I understand that you might need some flexibility for varying board layouts, but it requires a steady hand to get everything plugged in.

Out of everything on the to-do list, installing the fans was easily the worst. Through trial-and-error, I eventually deduced the daisy-chaining required to make them spin and to make them light up. I also eventually figured out that two of the fans that came in the box were broken. When I bought replacements from the same manufacturer, they were actually 4-pin fans vs. The 3-pin fans that came with the case. To make these work, I had to swap out all of the default fans – even the ones that worked – for the new 4-pin versions.
Though the process came with plenty of headaches over the course of a few days, I was elated when the project was finally over. With all its RGB lights in bloom, it was unreal to see it finally come to life thanks to my elbow grease and the remote tutelage of fakeghostpiraterobot.

In my early tests, this new machine absolutely crushes the old one. Having the extra horsepower is going to open a lot of creative opportunities that weren’t possible. Having never owned a cutting-edge PC before, I’m also excited to see what gaming opportunities open up as well.
Though I came into this project with a ton of anxiety, the big takeaway from this experience was that building a PC was something I was capable of doing. Even if it took a ton of remote guidance from fakeghostpiraterobot (can’t thank him enough for that), I completed the job. If I had to do this again, I have the skill set now to complete such a build in a few hours. Going forward, I think I’ll continue to learn more about PC building while improving my own rig.
Is this something you could do? Probably. Do you want to? That’s a different question. While there are clear benefits when it comes to cost efficiency and control over exactly which parts go where, I still understand the time savings and the dodging of potential headaches that come with building one on your own. When planning out your next PC, go with the approach that’s right for you.
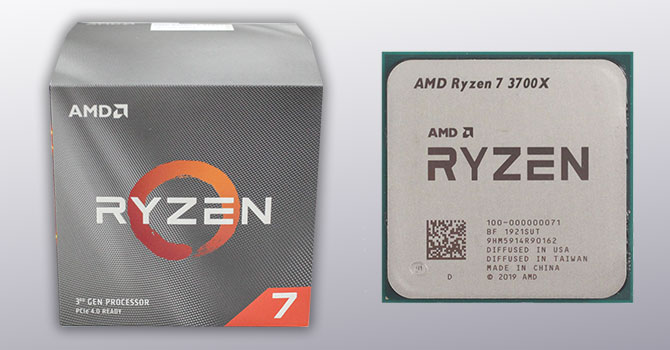 Buy the AMD Ryzen 3700X Now From Amazon.com

[Purchasing through this Amazon affiliate link gives me a small commission without adding any extra cost or effort to you. Thanks for your support!]

Thanks for sharing your experience with us Jett. I can tell you after 25 years of using PCs and 17 years of building them, it’s really satisfying using a thing you’ve built yourself 😁
I’ve come full circle now though, my last build involved transplantation of components from an existing machine into a new case, with additional new parts, much like yours. It took around 9 hours in total, despite my experience. It’s fiddly work and I wanted to make sure everything was cable tied properly (for once) and existing components were cleaned. I just don’t think I can be bothered with it all again. I’ll upgrade the SSD and graphics card, but pretty much done with PC gaming now, bar the backlog I’ve amassed on there. Consoles all the way!