
[This post is part of a blogging collaboration by Later Levels and Hundstrasse called #BloggersWhoStream. Make sure to give them both credit and follow the hashtag on Twitter for more posts from the community!]
Building the game streaming setup of one’s dreams is an evolutionary process for most. It’s an expensive hobby to get into and the majority of those interested in pursuing it don’t start out with the equipment they need to produce a high-quality product. For example, I started streaming in 2017 with just the laptop I already had. Great for blogging, but it didn’t have the horsepower to display my gameplay and camera feeds at the same time.
More importantly, it’s a hobby that you really need to try for yourself before you go all in. Just because you like playing video games doesn’t mean that you’ll like playing them on stream. For instance, I love playing Tetris Effect when I’m not on stream and no one’s watching. However, when I streamed it and no one watched, I came away from that experience feeling miserable.
The outcome of no one watching was the same, but the dynamics and expectations change when broadcasting was introduced to the mix. The worst thing one can do is to buy all of the most expensive equipment and realize after the fact that they don’t actually like how streaming warps the gaming experience. You’re better off starting with whatever you have and determining whether you want to pursue it further.
This tour through my streaming setup is the culmination of my journey thus far. The road to get here was filled with failure, doubt, and MacGyver-esque life hacks. Even so, I truck along thanks to everything I’ve learned, the friends I’ve made along the way, and positive impact I’ve made on the world. From providing entertainment, to those that tune in to the money I’ve raised for charity (over $2,000 and counting for Extra Life!), I don’t take any of this for granted. All of this has inspired me to continue honing my craft and improving as a streamer on every front. As long as I continue to grow within the hobby, so will my streaming setup. Without further ado, let me show you where the magic happens.
The Streaming Room
Having a dedicated space for gaming and streaming is a real plus. However, it took me a long time settle into this space. My wife and I moved into this home with plans of renovating the basement with a more contemporary look. Hoping the renovations would take place sooner rather than later, I didn’t bother putting up any decorations.
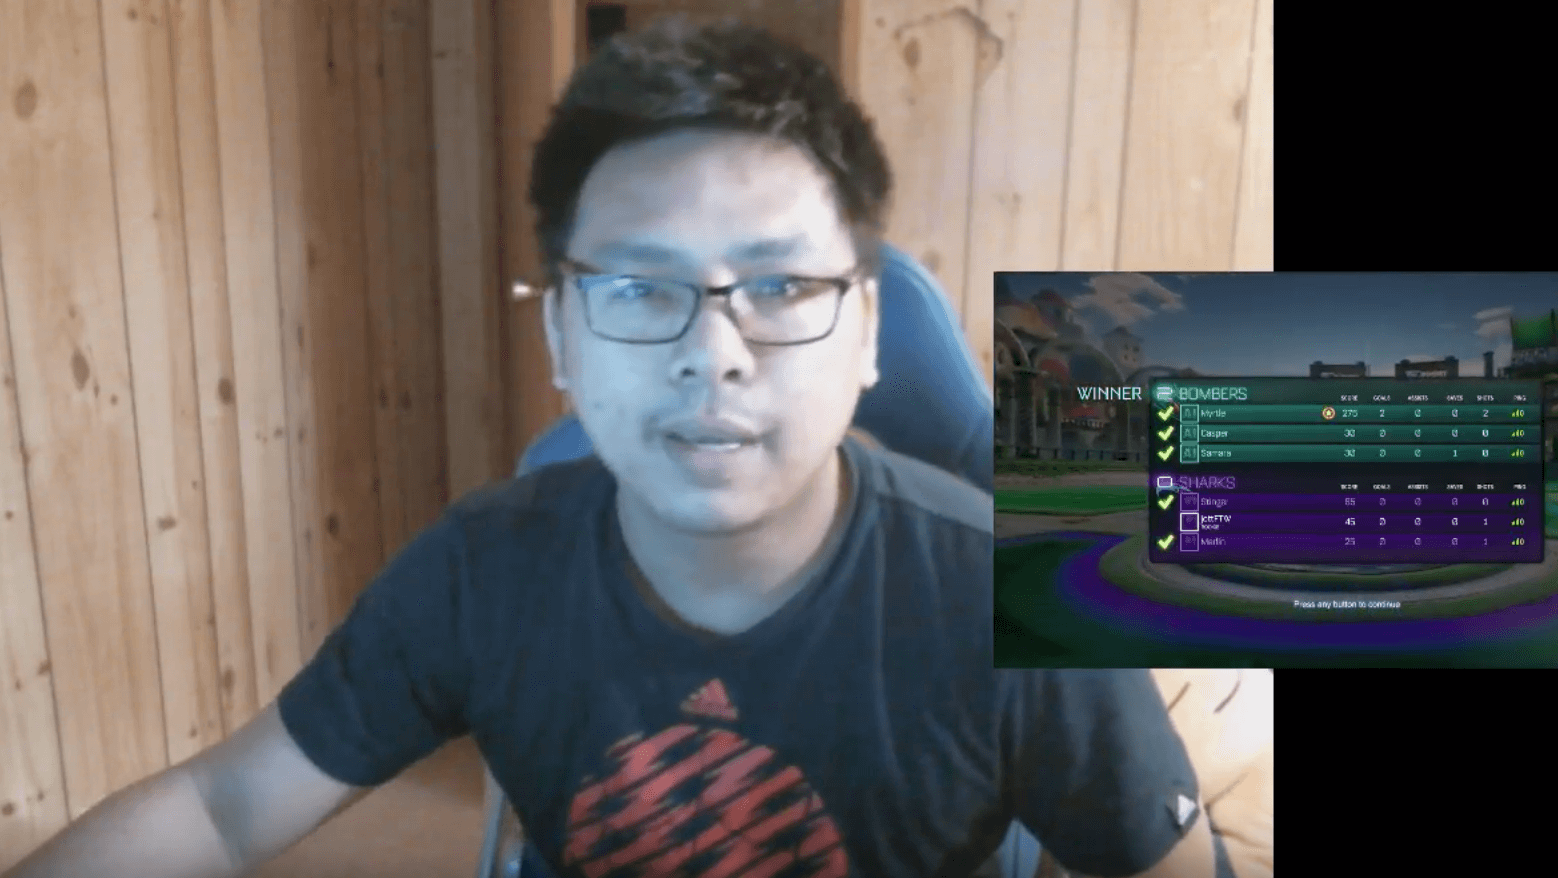
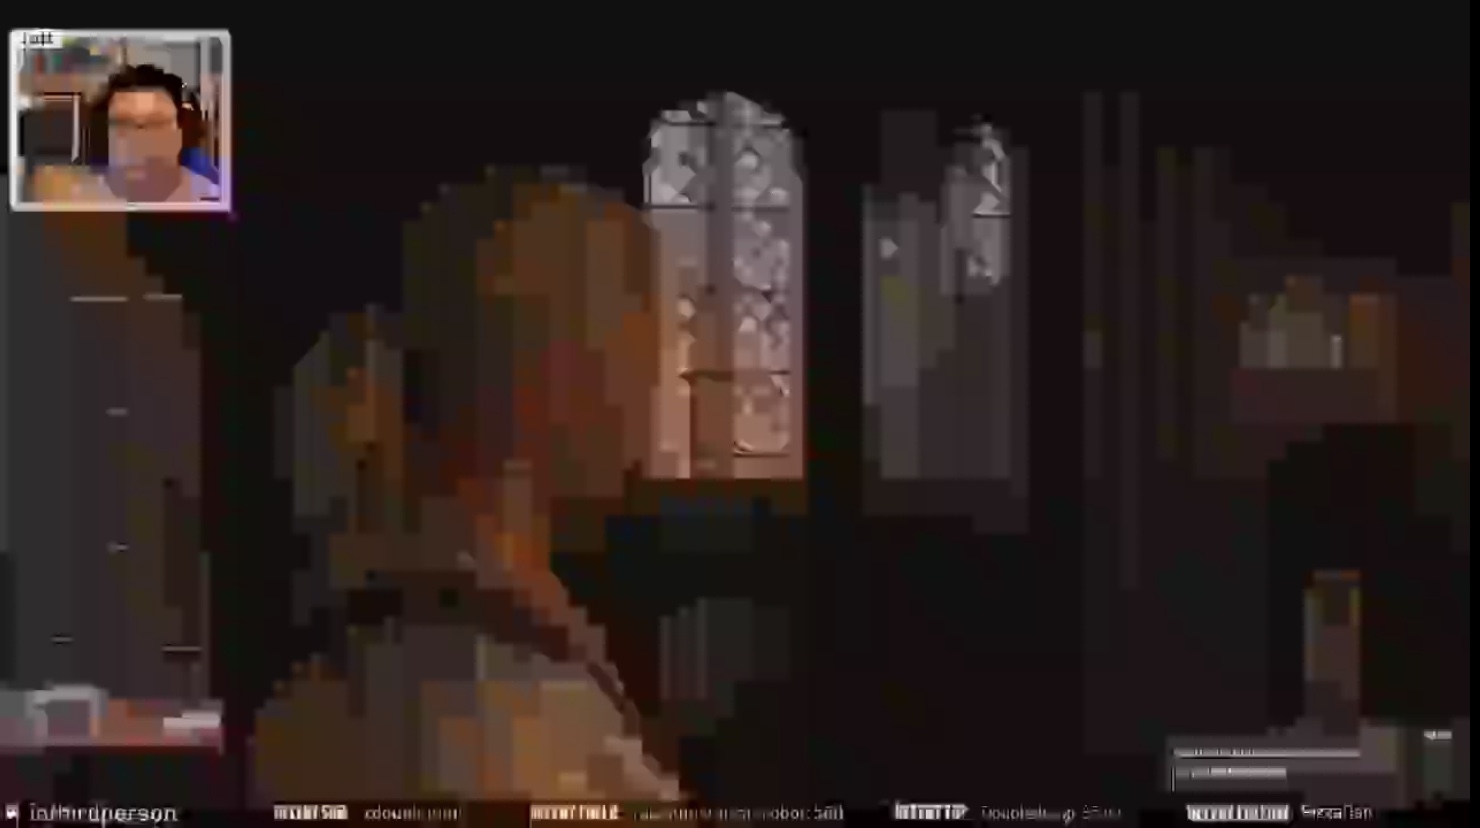
You can see in this screenshot that the room was barren, save for Snorlax peeking in at the bottom right hand corner. What started out as him only being in this room because we didn’t have space for him in the living room has grown into a staple of the show. With a sharp eye, you can even see the hole in wall that the Toronto Raptors championship banner currently covers.

Our biggest sticking point with the space is actually the part viewers see most. While the wall makes for a great backdrop, it actually cuts the basement in half. When we inevitably knock it down to create one large space, we want to add an entertainment area for Steff and I to hang out.
Eventually, the wall will come down. I look forward to the day when we can be here together more often. Will have to shuffle everything around in order to accommodate, but the effort will be worth it.

Regardless of where our renovations take us, the goal is to maintain the concept of me existing in this room when I stream. From the fun backdrop that I change monthly to me running around to gather stuff for Show and Tell, the room is part of the show.
PC
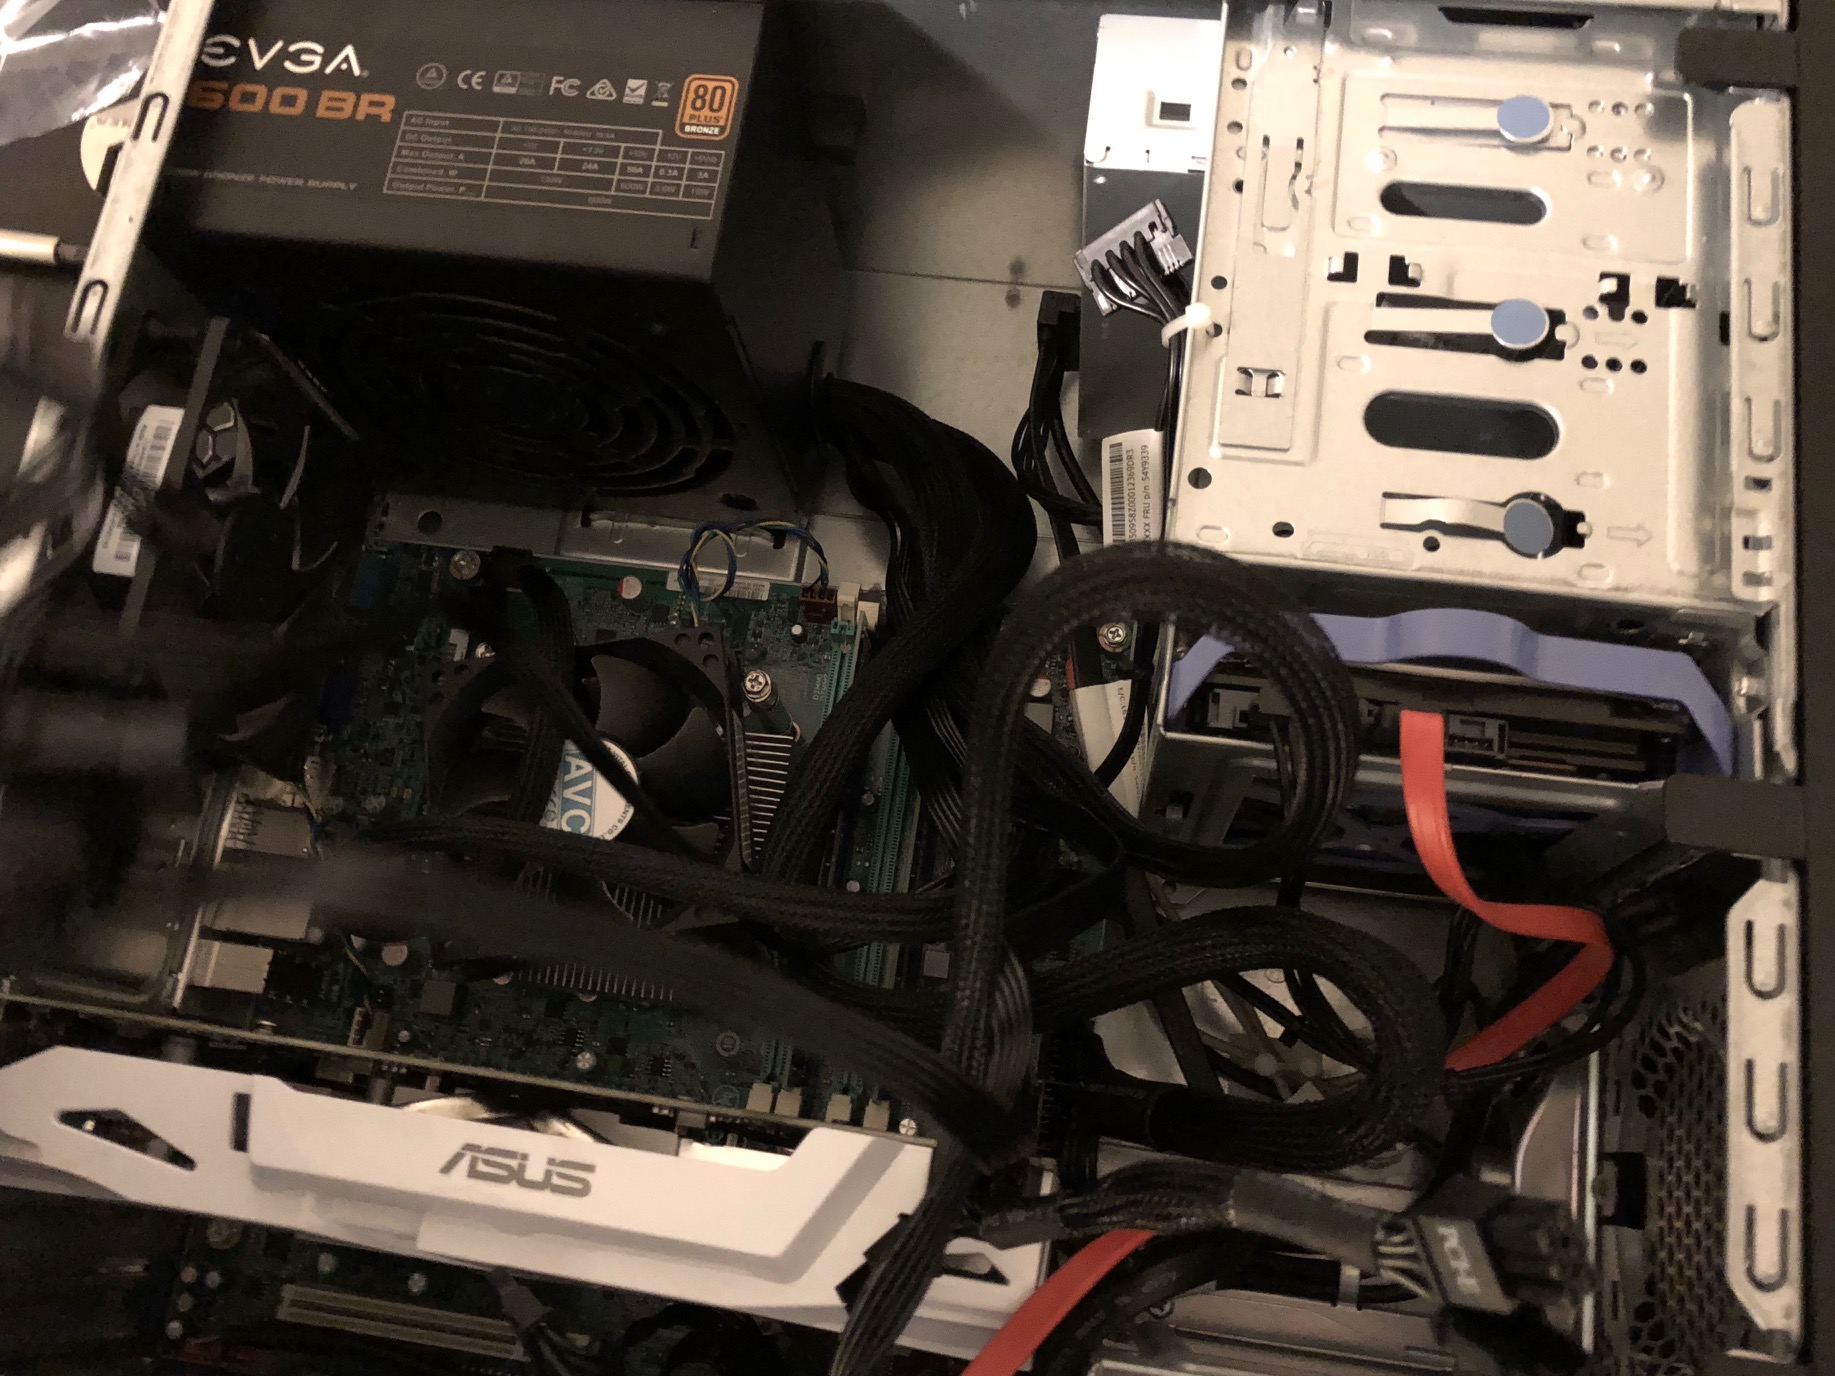
My modern run at video and streaming came about by happenstance. When my work was in the midst of relocation, our IT department gave away a number of old PCs. Our IT manager at the time saved one for me, knowing that I had an interest in video and streaming. Without his generosity, I probably still wouldn’t be streaming or making video, as the upfront cost for a PC powerful enough to handle it was really hard for me to justify at the time.
Having this computer was a huge step forward, but it wasn’t quite where it needed to be. Took a lot of research, help from computer-savvy friends, and some money to get it where it is now. Out of the box, it dropped a lot of frames, making for a choppy viewing experience.
I bought a Asus GeForce GTX 1060 and a bigger power supply in an attempt to stabilize the video. While it lightened the load on my CPU and minimized frame drops once I figured out how to actually configure it properly, a new issue cropped up where my lips would fall out of sync with my camera after an hour of streaming. You can see it happen in this Left 4 Dead stream if you fast forward to the 55-minute mark and every stream I would host for the next two months.
Eventually, my brain trust recommended installing a solid state drive. They were right. The desyncs occurred because my old hard drive wasn’t fast enough to encode. Moving to a solid state drive was the fix I needed to speed up the encoding processes and minimize the “bad overdub” problem.
Though I don’t ever want to feel the stress and frustration that comes with troubleshooting ever again, I learned a lot about the hardware and software that brings streaming to life. Not only has this knowledge helped me improve my stream, but I’ve been able to share this knowledge with others to help them bring their shows to fruition.
At some point in the next year, I’m looking to upgrade. I’ve hit the ceiling on what it can do, especially on the video editing front where it’s abysmally slow. Furthermore, some issues I’ve been having with my new capture card are apparently tied to the fact that my processor is one generation too old. Aiming for the next upgrade to include a new motherboard, DDR4 RAM, and a new CPU. For the time being, I’m pushing everything I’ve got to the limit.

Capture Card
For years, I used the ancient Elgato Game Capture HD to capture console gameplay onto my PC. This year, I finally upgraded to the Elgato Game Capture HD60 S, allowing me to finally stream and record in 60 FPS. While it’s actually a few generations behind now, this card should be enough to suit my needs for the next few years. I might be missing out on 4K, but I don’t have a 4K TV, my computer certainly doesn’t have the horsepower or storage to hold 4K video, and Twitch doesn’t support 4K streams at this point. Even if I could stream at 4K, many viewers don’t have the download speeds to watch a smooth 4K broadcast just yet. I know I don’t.
My old capture card won’t get sent off to pasture just yet. The newer Elgato Capture Cards don’t support retro consoles out of the box. There are workarounds, but my experience with the adapters required have been disastrous. For retro streaming, I’ll keep my old Elgato around.

Main Camera
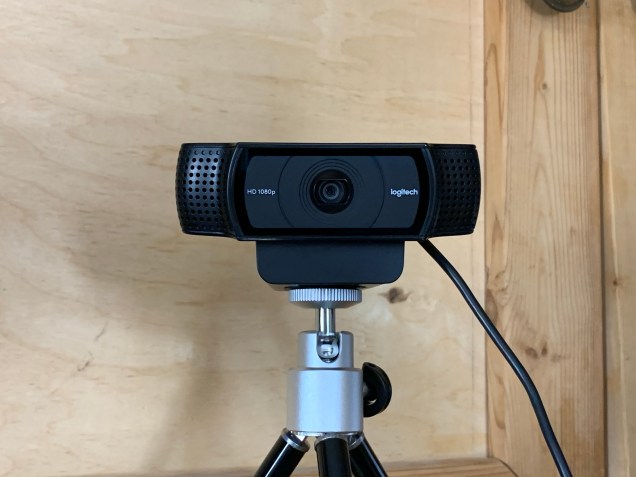
During my first year of streaming, my computer couldn’t even support displaying gameplay and a camera at the same time. When I got the PC I use now, my former coworker lent me his Logitech 615 to start. A few months later, I bought myself a Logitech C920 as a birthday present. Not that long ago, I upgraded to a Logitech BRIO, which is Logitech’s premium webcam.
It’s a good camera that outputs a very nice image. You can go up to 4K 30FPS with it, but I use it mostly at 720p and 1080p. You can see the difference in this head-to-head:
Not long after, I learned that I’ve been using my Logitech webcams wrong the whole time. Both of these cameras require a lot of manual adjustments and light to really get the most out of your image quality. I made a quick video guide on some of the ways you can make your C920 or BRIO look better that you can watch here.
This is what my Logitech C920 looked like with poor lighting and all of the automatic adjustments on.
This is what my Logitech BRIO looks like with proper lighting and manual configuration. It’s a stark difference in the right direction!
Even so, you can still get a decent picture out of the C920 with the right lighting and settings. In fact, it has found a new role in a different part of my room.
Secondary Camera
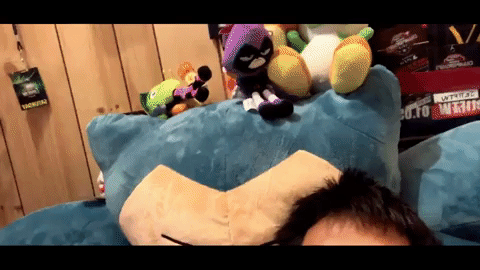
Perched atop a shelf in front of my electrical box, the good old Logitech C920 is now my room cam. I use this angle more as a novelty, but it’s an opportunity to show viewers more of the room and more of me. I’m more than just a talking head!
Here’s what the camera looks like! Will have to do some work to better decorate the wall with the Fire Emblem art, but I’ve got a lot of material to work with.

Microphone
My first USB microphone was the Blue Snowball Ice. It took a while for me to figure out the proper compression and noise removal settings to get it sounding just right, but I have no regrets with its overall quality. Still highly recommend it as a starter mic if you’re looking for something decent on a budget.
These days, I use a Blue Yeti Nano. While it looks a lot better, has a few more features, and does sound better, the quality gap isn’t big enough for me to recommend it if you’ve already got a Snowball. If you’ve got money to spend and want a higher-end USB mic right now, then go with the Nano.
But if you can wait a few months, would highly recommend waiting for Elgato’s Project Wave. They’ve only teased it so far, but it looks like some sort of microphone with a mixer built in. If it sounds good and comes in at a reasonable price, the added mixing functionality will instantly make this the USB mic of choice. At this time, I’ll keep my Blue Yeti Nano until I’m ready to move into an XLR-based setup.

Audio Splitter
One of the challenges of game streaming is that it’s hard to hear the game audio without the TV audio leaking into your microphone. This creates an awful echo or feedback loop. In combination with a ground loop, 1/8 inch extension cable, and a 1/8 inch volume control, I use this Elgato Chat Link to split the sound between my PC and my headphones.
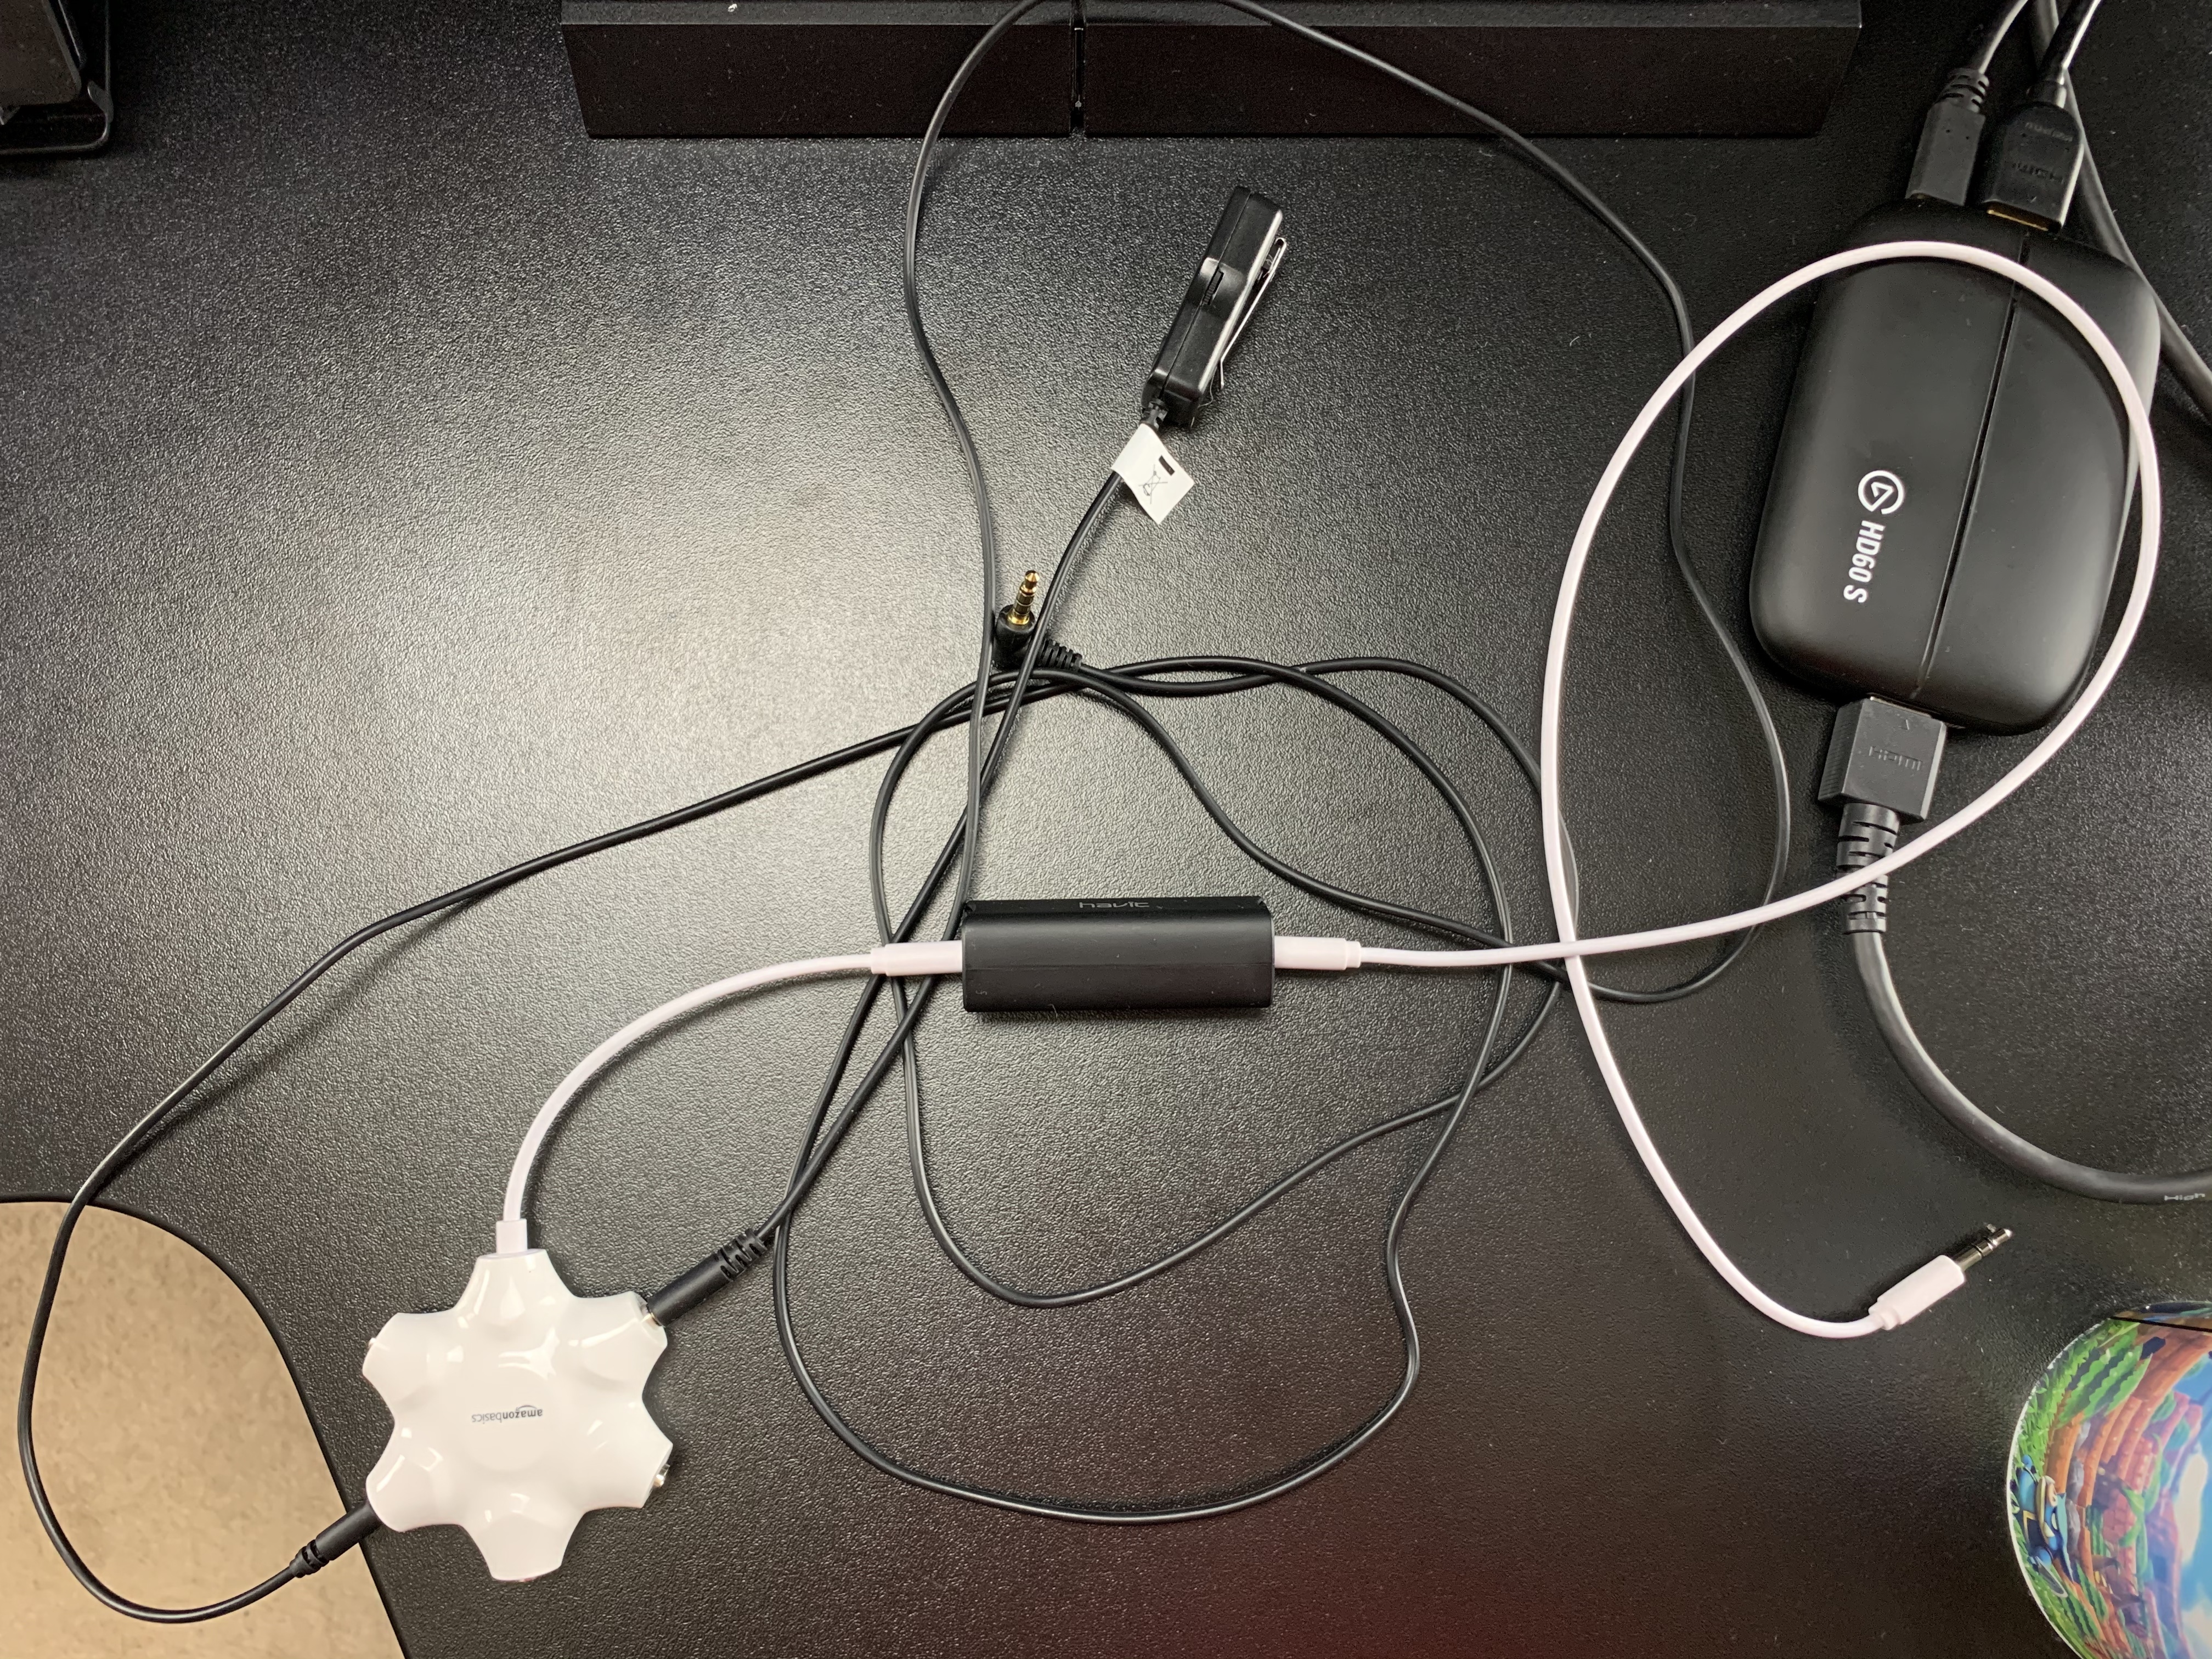
As an alternative, you can cobble together your own variation of this solution with Amazon Basic parts, which I’ve also done and pictured above. This picture also shows the ground loop in the middle, which is used to remove the buzzing sound when you try and connect to the Switch’s headphone jack in docked mode, and the volume control at the top that allows me to adjust my headphone volume independently of what goes into the PC.
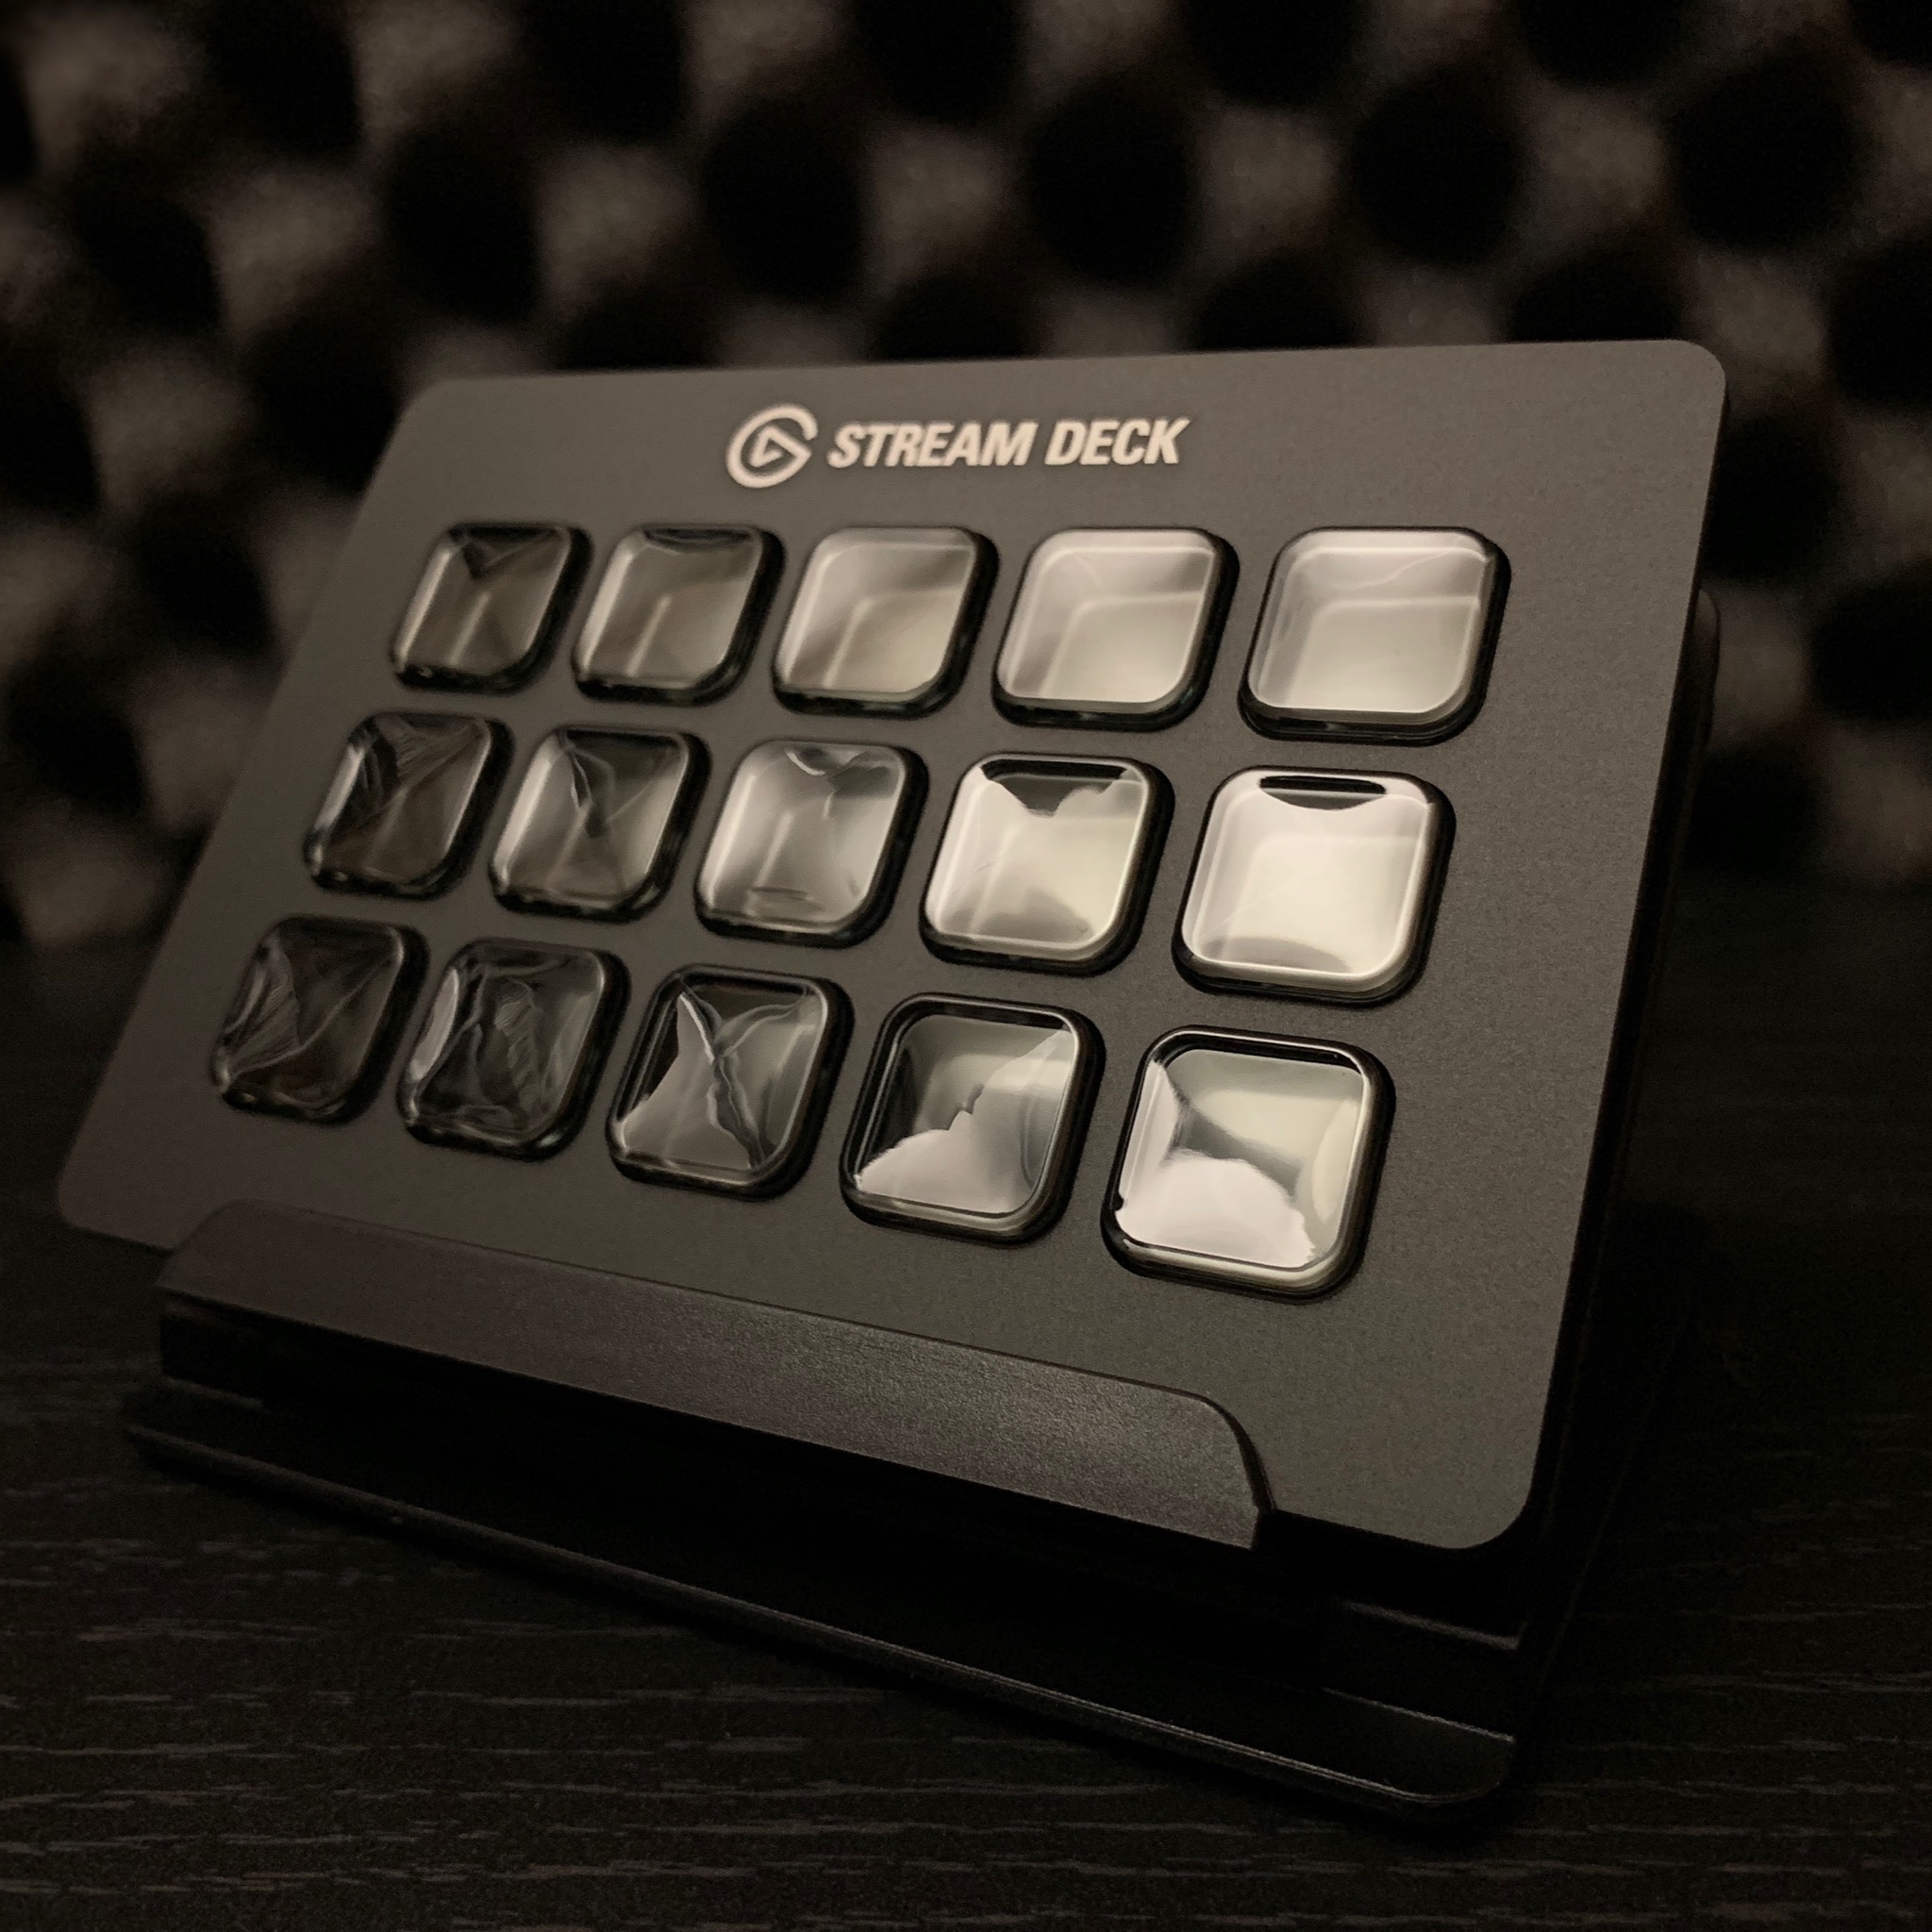
Stream Controller
When it comes to evaluating the value of an Elgato Stream Deck, you have to look beyond the surface. Yes, it’s “just” 15 buttons that you can already use your keyboard for. But what it allows you to do without breaking the flow of your stream is crazy and its functionality is growing every day.
During my main shows, I have a set of buttons to control which scenes are being displayed. Another set of buttons to mute my mic or my computer. The mute button comes in most handy when I need to burp, which is often. It can act as a soundboard, which I use at the start of every stream by blasting the air horn. I can instantly add timestamps to my stream so that I can edit out highlights later.
Where I really push the boundaries of the Stream Deck is with Boss Rush. For every show, I use dozens of buttons to manage everyone’s gameplay b-roll, as well as every function of our game shows. The main slideshow that guides our players through the experiences, to displaying answers on screen, to adjusting scores, and much more are all handled on this device without me having to take my eyes off the camera.
Every few weeks, Elgato adds even more functionality to it. You can control a number of different brands of smart lights with it. Send your go-live Tweets. Even toggle a voice changer! Once you have the foundational pieces of your stream in hand, I recommend grabbing a Stream Deck. With that said, get the regular or XL model. The mini one isn’t all that useful due to only having six buttons. Based on my habits, I could easily fill up an XL and use even more! GIVE ME ALL THE PROGRAMMABLE BUTTONS!
Lights
Up until recently, lighting has been my biggest Achilles heel. The combination of not knowing how to properly configure my cameras and not having enough light sources created a sub-standard picture.
I stream from a dingy basement with virtually zero natural light and an awful three-way light fixture above my head. Seems like there’s no way to position each light to create an evenly lit room.

My first attempt at moving past my room lights involved me taping a strip of LED lights across the top of my desk, with a cut up plastic tablecloth acting as a diffuser. It worked…okay. At least when I didn’t know that my camera’s Low Light Compensation settings were working overtime to light my scene.

I then got a pair of hand-me-down studio lights from my cousin. They didn’t come with stands and one of them actually wasn’t mountable due to the connector being broken. Aiming them directly at my face seemed to completely wash me out. Because of this, we aimed the lights at the ceiling using chairs and old moving boxes as stands. Would eventually discover that this approach to lighting was completely wrong and only “worked” due to my camera’s Low Light Compensation. Really should have pointed them at my face and turned that feature off.

Once I discovered the wonders of turning off Low Light Compensation, I then perched the lights over top of my desk and blasted them at my face from almost point blank range. The results were great, but the lights were propped up with small boxes lying around the house. While they luckily didn’t fall into my face while I was on stream, they did actually fall into my face twice while editing.
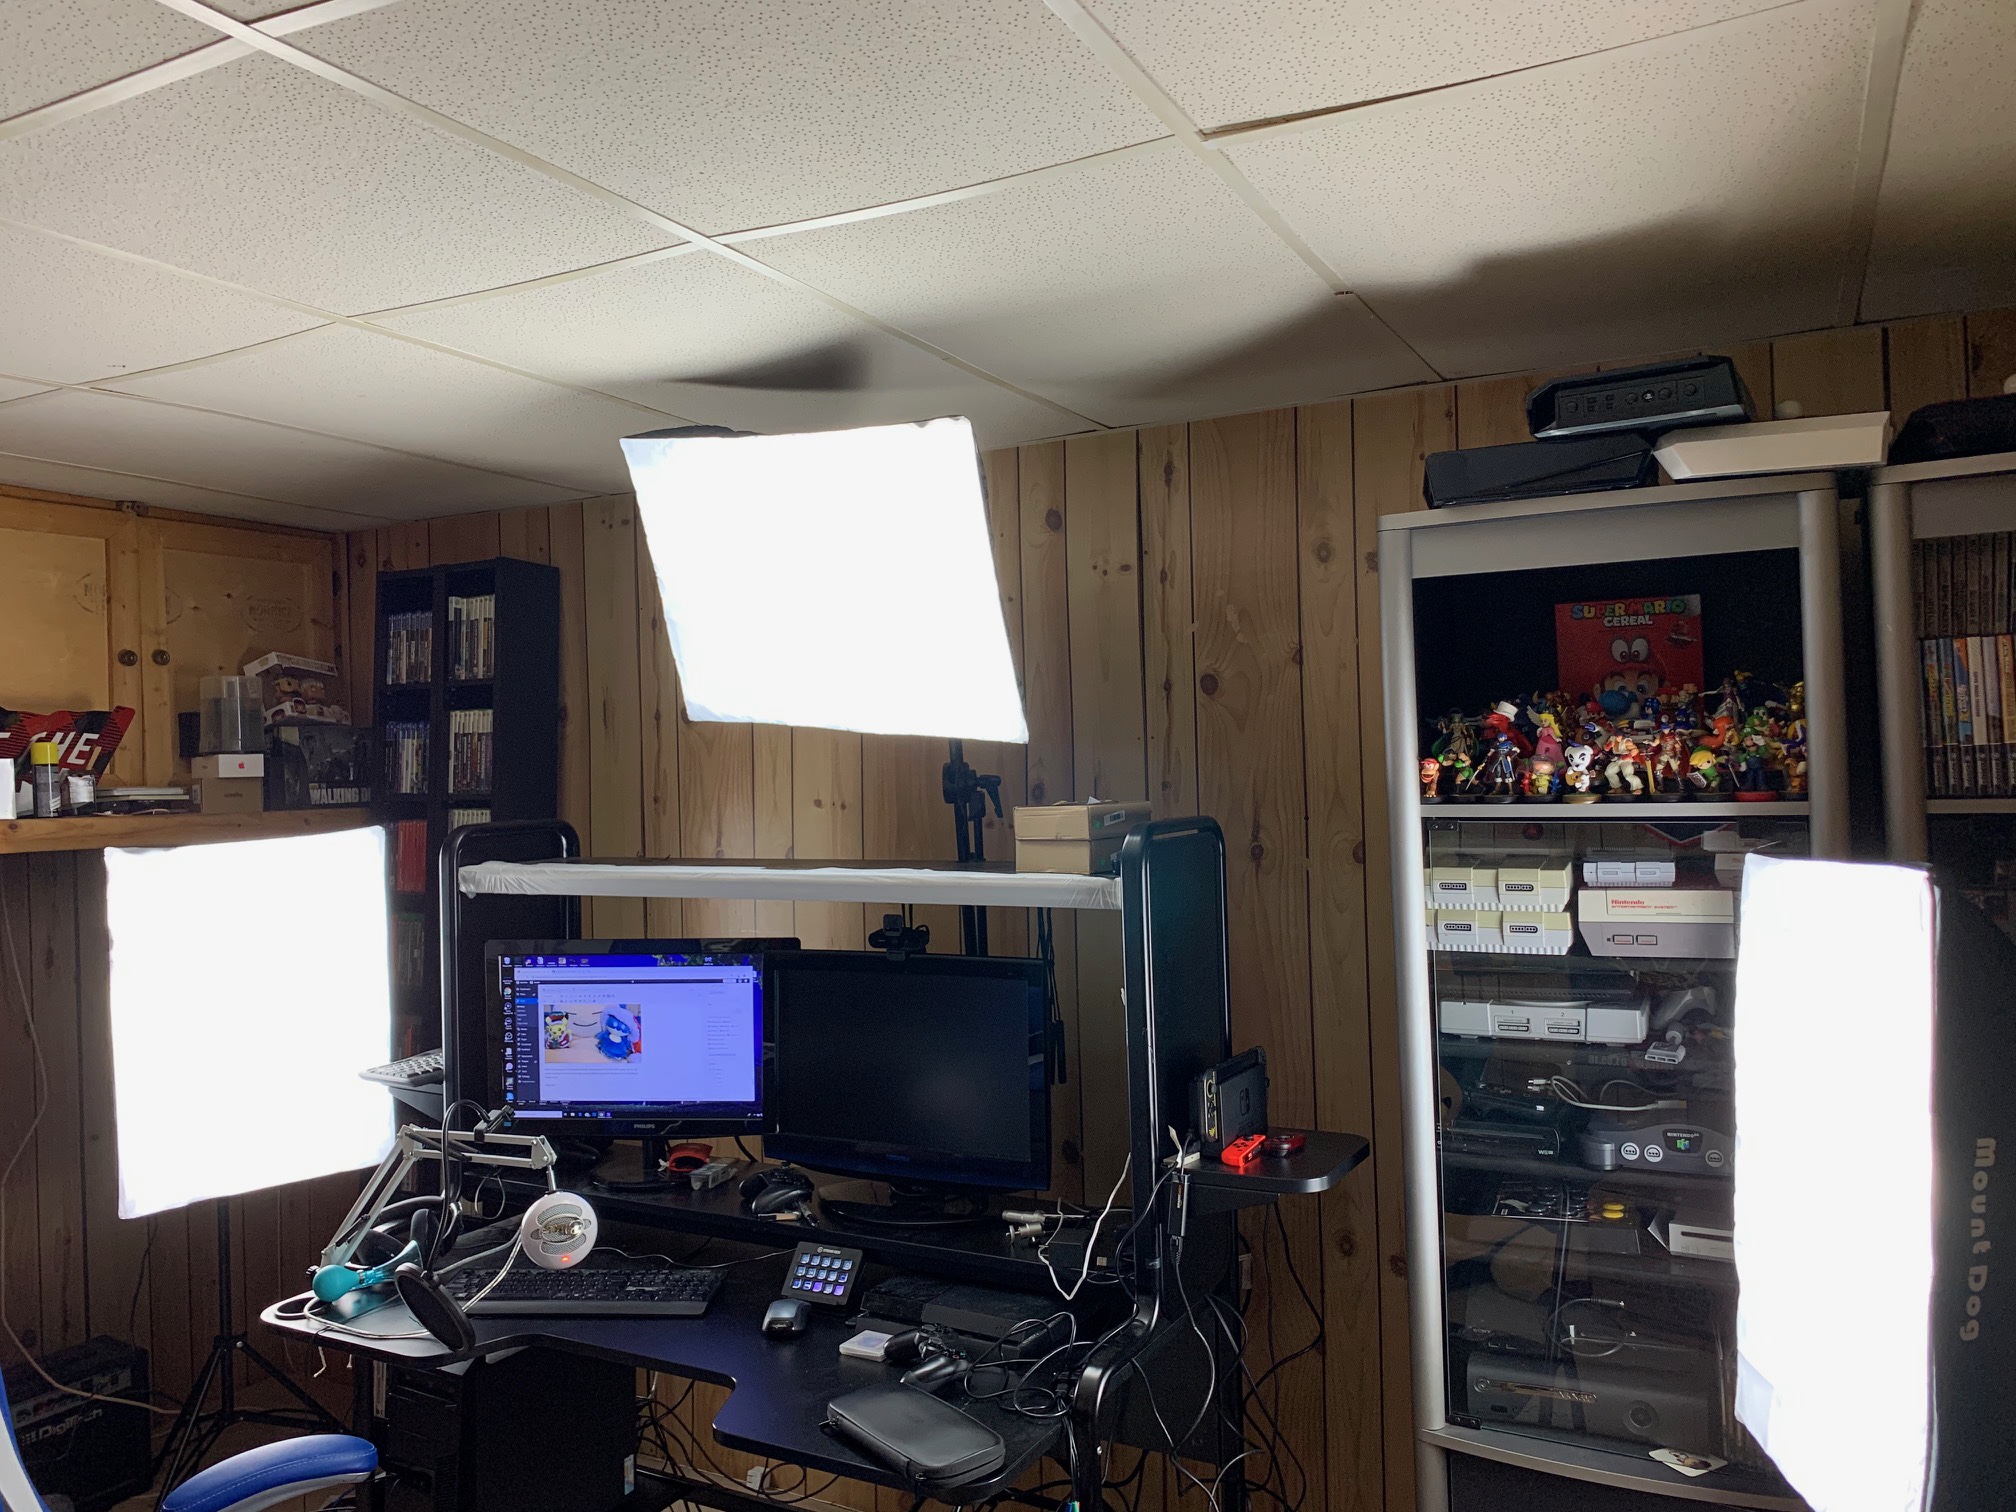
Thanks to my wife, I’m finally ready for my closeup. This three-light set evenly lights my face so you can see all of my wrinkles and imperfections. Fantastic!
Not long after I took this picture, the light on the left started malfunctioning. Not only did customer service send us a new light free of charge, but they also sent along a new stand with it. Since one of my cousin’s hand-me-down lights can still be mounted, I use a 4th light behind me to act as a fill light when I’m looking at the screens. It also conveniently doubles as direct light to my face when I’m looking at my secondary camera.
If you don’t have the budget for studio lights, this is an area where you can really cut corners in the short term. Make sure you’ve got your webcam configured properly, and then use whatever lamps you have around the house and point them at your face. Use multiple at different angles to try and eliminate any shadows, while also doing your best to use the same lightbulbs in each for a consistent colour temperature.
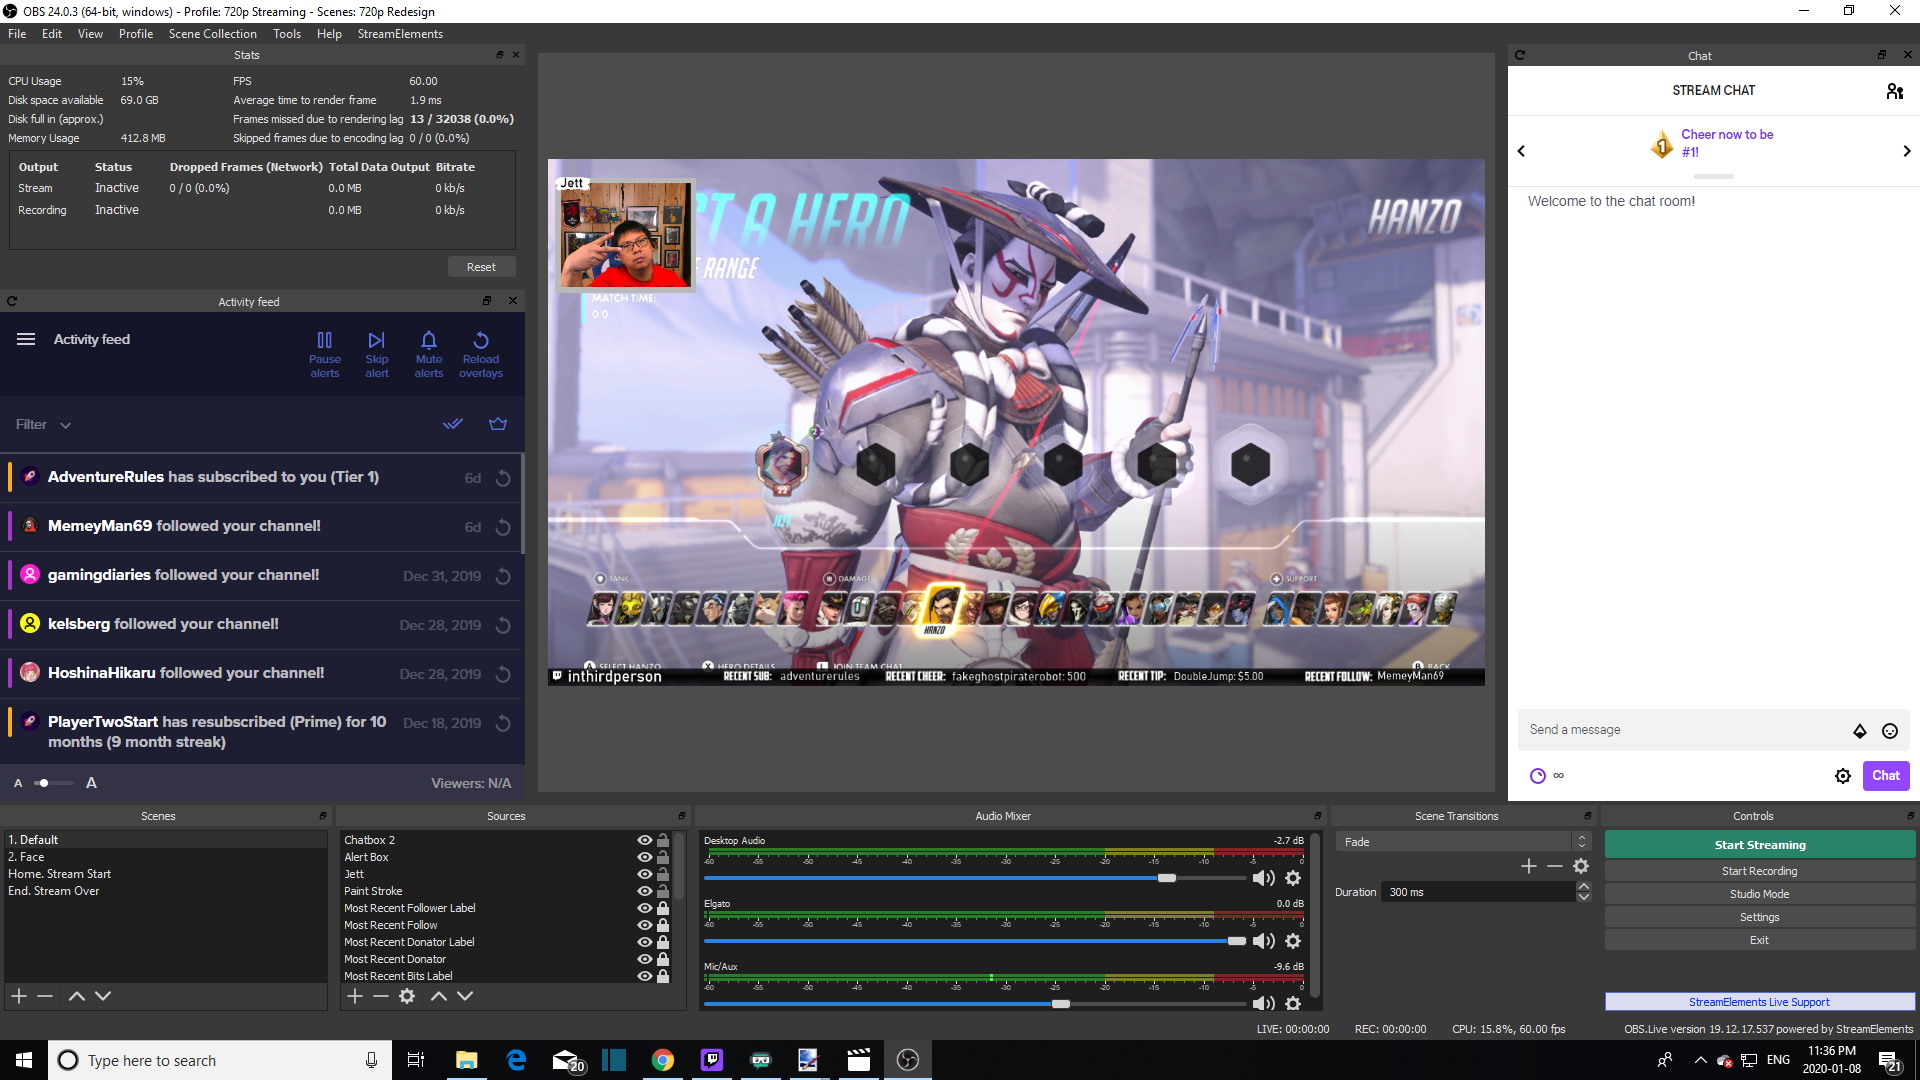
OBS
My go-to streaming software is an institution in the streaming world. Of late, Streamlabs OBS has gained popularity due to it building off of regular OBS with unique features and built-in overlays. For whatever reason, it wouldn’t play nice with my old Elgato Capture Card so I didn’t bother.
Pro-tip: If you want everyone in your Discord to see your OBS screen, install OBS VirtualCam. This is what I use for Boss Rush so that everyone on the show can see my screen and play game shows together.
VPN
In recent weeks, my stream has been suffering through massive quality issues. I went from dropping zero frames due to bandwidth issues to dropping an unwatchable 35% of all frames. I’ve tried everything to troubleshoot the issue, such as lowering my quality settings, using different streaming software, lowering my firewall, using different modems, running a router in bridge mode, taking part in multiple calls with my ISP, and eventually getting very involved with subject matter experts at my ISP through their community forum.
Based on my results thus far, it seems to be an issue with the way my ISP is handling RTMP (Real-Time Messaging Protocol). Until they’re able to resolve the issues on their end, I have two options:
- Stream on Mixer, which uses a proprietary protocol that doesn’t suffer the same issue
- Use a VPN
Until I’m ready to make the move to Mixer, I’m thinking of using option #2 to continue streaming on Twitch. While my stability isn’t as good as it used to be even with the VPN, it’s doing a much better job at circumventing whatever connectivity issues my ISP has been having with RTMP of late. I borrowed access to a VPN for my tests, but I just bought access for myself to ensure that I have connectivity options to ensure a stable stream. If you’re having stability issues and you’ve tried absolutely everything else, consider trying a VPN as a potential workaround.
Elgato Screen Link
Elgato Screen Link is a mobile app that allows you to send your phone video feed into your capture PC. For example, I could broadcast using my phone as a camera while I walk around my house. I can play mobile games on stream as well, such as that time when I streamed Dr. Mario World.
My most ambitious use of the tech was the Pictionary Air segment as part of our Extra Life campaign. With a camera pointing at players on the couch and the mobile feed showing the game on the right, you got to see the full real world and digital aspects of the game in one view. It’s a cool feat of technical wizardry that really brought out the magic of this segment.

Legend of Zelda: Link’s Awakening Slurpee Cup
I’m a huge advocate for talking constantly on stream. It’s your best way of adding value as a streamer. In order to keep my whistle wet without having to run upstairs regularly for refills is this reusable Legend of Zelda: Link’s Awakening Slurpee cup from 7-Eleven. There were three different designs released, but this was the only one I found and it was the very last cup they had. Still functional and cute though!

Even before then, I’ve tried to keep my drinkware on theme. I used to regularly use Super Mario themed glasses. Recently, I got this amazing Snorlax travel mug from Kris and Rachel at Double Jump that I’ve used on stream as well. You’ll see this mostly during morning streams when I really need the coffee. Details as minute as this can still have a positive impact on your stream!
Thus concludes an exhaustive look at my streaming setup. Hope you enjoyed the journey! Though I spent a lot of time talking about cool tech and obsessing over my setup, it’s worth stressing the fact that great tech won’t save a boring stream. Don’t worry about having the best stuff right away. Focus on making your best show with what you have and then find the tools that will help you make it better.
If you want to see all of this in action, follow me on Twitch @inthirdperson! I know this last week has been a bust due to technical difficulties, but I’m aiming to be back on track for next week. Schedule is always in the right-hand column of the site or pinned to my Twitter feed if you’re interested. Hope to see you soon!

Buy the Elgato Stream Deck Now From Amazon.com

[Purchasing through this Amazon affiliate link gives me a small commission without adding any extra cost or effort to you. Thanks for your support!]
