 OBS is the go-to broadcasting software for streamers. It’s incredibly powerful and it’s free. If you don’t already have it, grab it here! Putting together your first stream isn’t that difficult, but you can really take your stream to the next level with a few tidbits of advice you may have missed along your journey.
Here are my top 10 tips for streaming like a pro in OBS!
Actually, there are 11 tips, but “top 10” works better for SEO purposes and #11 might be the most important tip of all. Let’s get to the tips!
1. Set the right bitrate
Bitrate dictates the amount of data being sent from your streaming service of choice. The general rule of thumb is that the higher the bitrate, the better the quality. However, you don’t necessarily need the highest possible bitrate for a lower resolution stream. Also, Twitch currently has a bitrate cap of 6,000 kbps. Depending on what resolution and frame rate you want to stream at, set your bitrate accordingly.
Under File > Settings > Output > Streaming, use the following settings:
1080p 60fps
Resolution: 1920×1080
Bitrate: 5,000-6000 kbps
Rate Control: CBR
Framerate: 60
Keyframe Interval: 2 seconds
Preset (NVENC): Max
Preset (x264): veryfast to medium (slower is better but at the cost of more extensive CPU/GPU usage)
720p 60fps
Resolution: 1280×720
Bitrate: 4,000-5,000 kbps
Rate Control: CBR
Framerate: 60
Keyframe Interval: 2 seconds
Preset (NVENC): Max
Preset (x264): veryfast to medium (slower is better but at the cost of more extensive CPU/GPU usage)
720p 30fps
Resolution: 1280×720
Bitrate: 2,500-3,500 kbps
Rate Control: CBR
Framerate: 30
Keyframe Interval: 2 seconds
Preset (NVENC): Max
Preset (x264): veryfast to medium (slower is better but at the cost of more extensive CPU/GPU usage)
NOTE: If you’re dropping rendering or encoding frames, you’re overloading your computer. One at a time, drop the settings within Preset and bitrate before dropping down to the next resolution. If you’re still dropping frames at 720p 30fps, you’re running into some major limitations with your PC. You may need to go even lower than the recommended bitrate and presets and possibly drop to 480p. At this point, your picture will be greatly compromised and fast action games will look very blurry, but Just Chatting and slower-paced games can still work at lower resolutions and bitrates. Otherwise, you may need to look more seriously at upgrading your PC.

2. Pick the right encoder
OBS defaults to x264 encoding. The image quality is great, but it’s very intensive on your CPU. Putting this much strain on your CPU may limit your ability to perform other actions, such as playing a PC game and streaming on the same computer.
If you don’t have an NVIDIA graphics card, x264 is likely your best option, so there isn’t any need to change that. But if you do have an NVIDIA graphics card, I would strongly recommend choosing NVENC (new), especially if you have an NVIDIA 1650 Super graphics card and up.
The big benefit to NVENC over x264 is that it moves all of the video encoding to your GPU instead of your CPU. This gives your CPU more headroom to handle the game you’re playing and other tasks the CPU might need to do while streaming. If you’re running an older machine, moving your encoding to NVENC might be the only way you can stream PC games on one PC or even stream at all.
If your graphics card is lower than a 1650 Super, you can’t take full advantage of the new NVENC encoder, as it doesn’t have the modern Turing architecture for encoding. You’ll still save CPU cycles by using NVENC, but your picture won’t look as sharp as an equivalent x264 stream.
But if you have a card that’s a 1650 Super and up, congrats! You’re equipped with Turing architecture in your graphics card, which gives you the full capabilities of the NVENC encoder. This means your max preset NVENC stream will look as good as a medium preset x264 stream while freeing up CPU cycles for other stuff. Pick NVENC if you have it!

3. Add the Stats Dock to your interface
You can track your stream’s health in real time with the stats widget. Simply go to View > Docks > Stats and add the stats widget to your OBS interface. As you’re streaming, peek at this widget from time-to-time to make sure you’re not dropping frames. If you are, the stats widget will highlight what the problem is and how to fix it.
ADDITIONAL READING: How-To Fix Network Lag, How-To Fox Rendering and/or Encoding Lag

4. Add Your Twitch Dashboard to OBS Through Custom Docks
Instead of flipping between multiple windows to see all of the information you need to monitor the stream, you can incorporate your chat, event list, and more through custom docks.

Go to your Twitch dashboard and use the pop-out view of the component you want to add, such as the chat. Grab the URL, and go to to View > Docks > Custom Browser Docks in OBS. From there, add the URL into the list and you can now add that component into your interface!
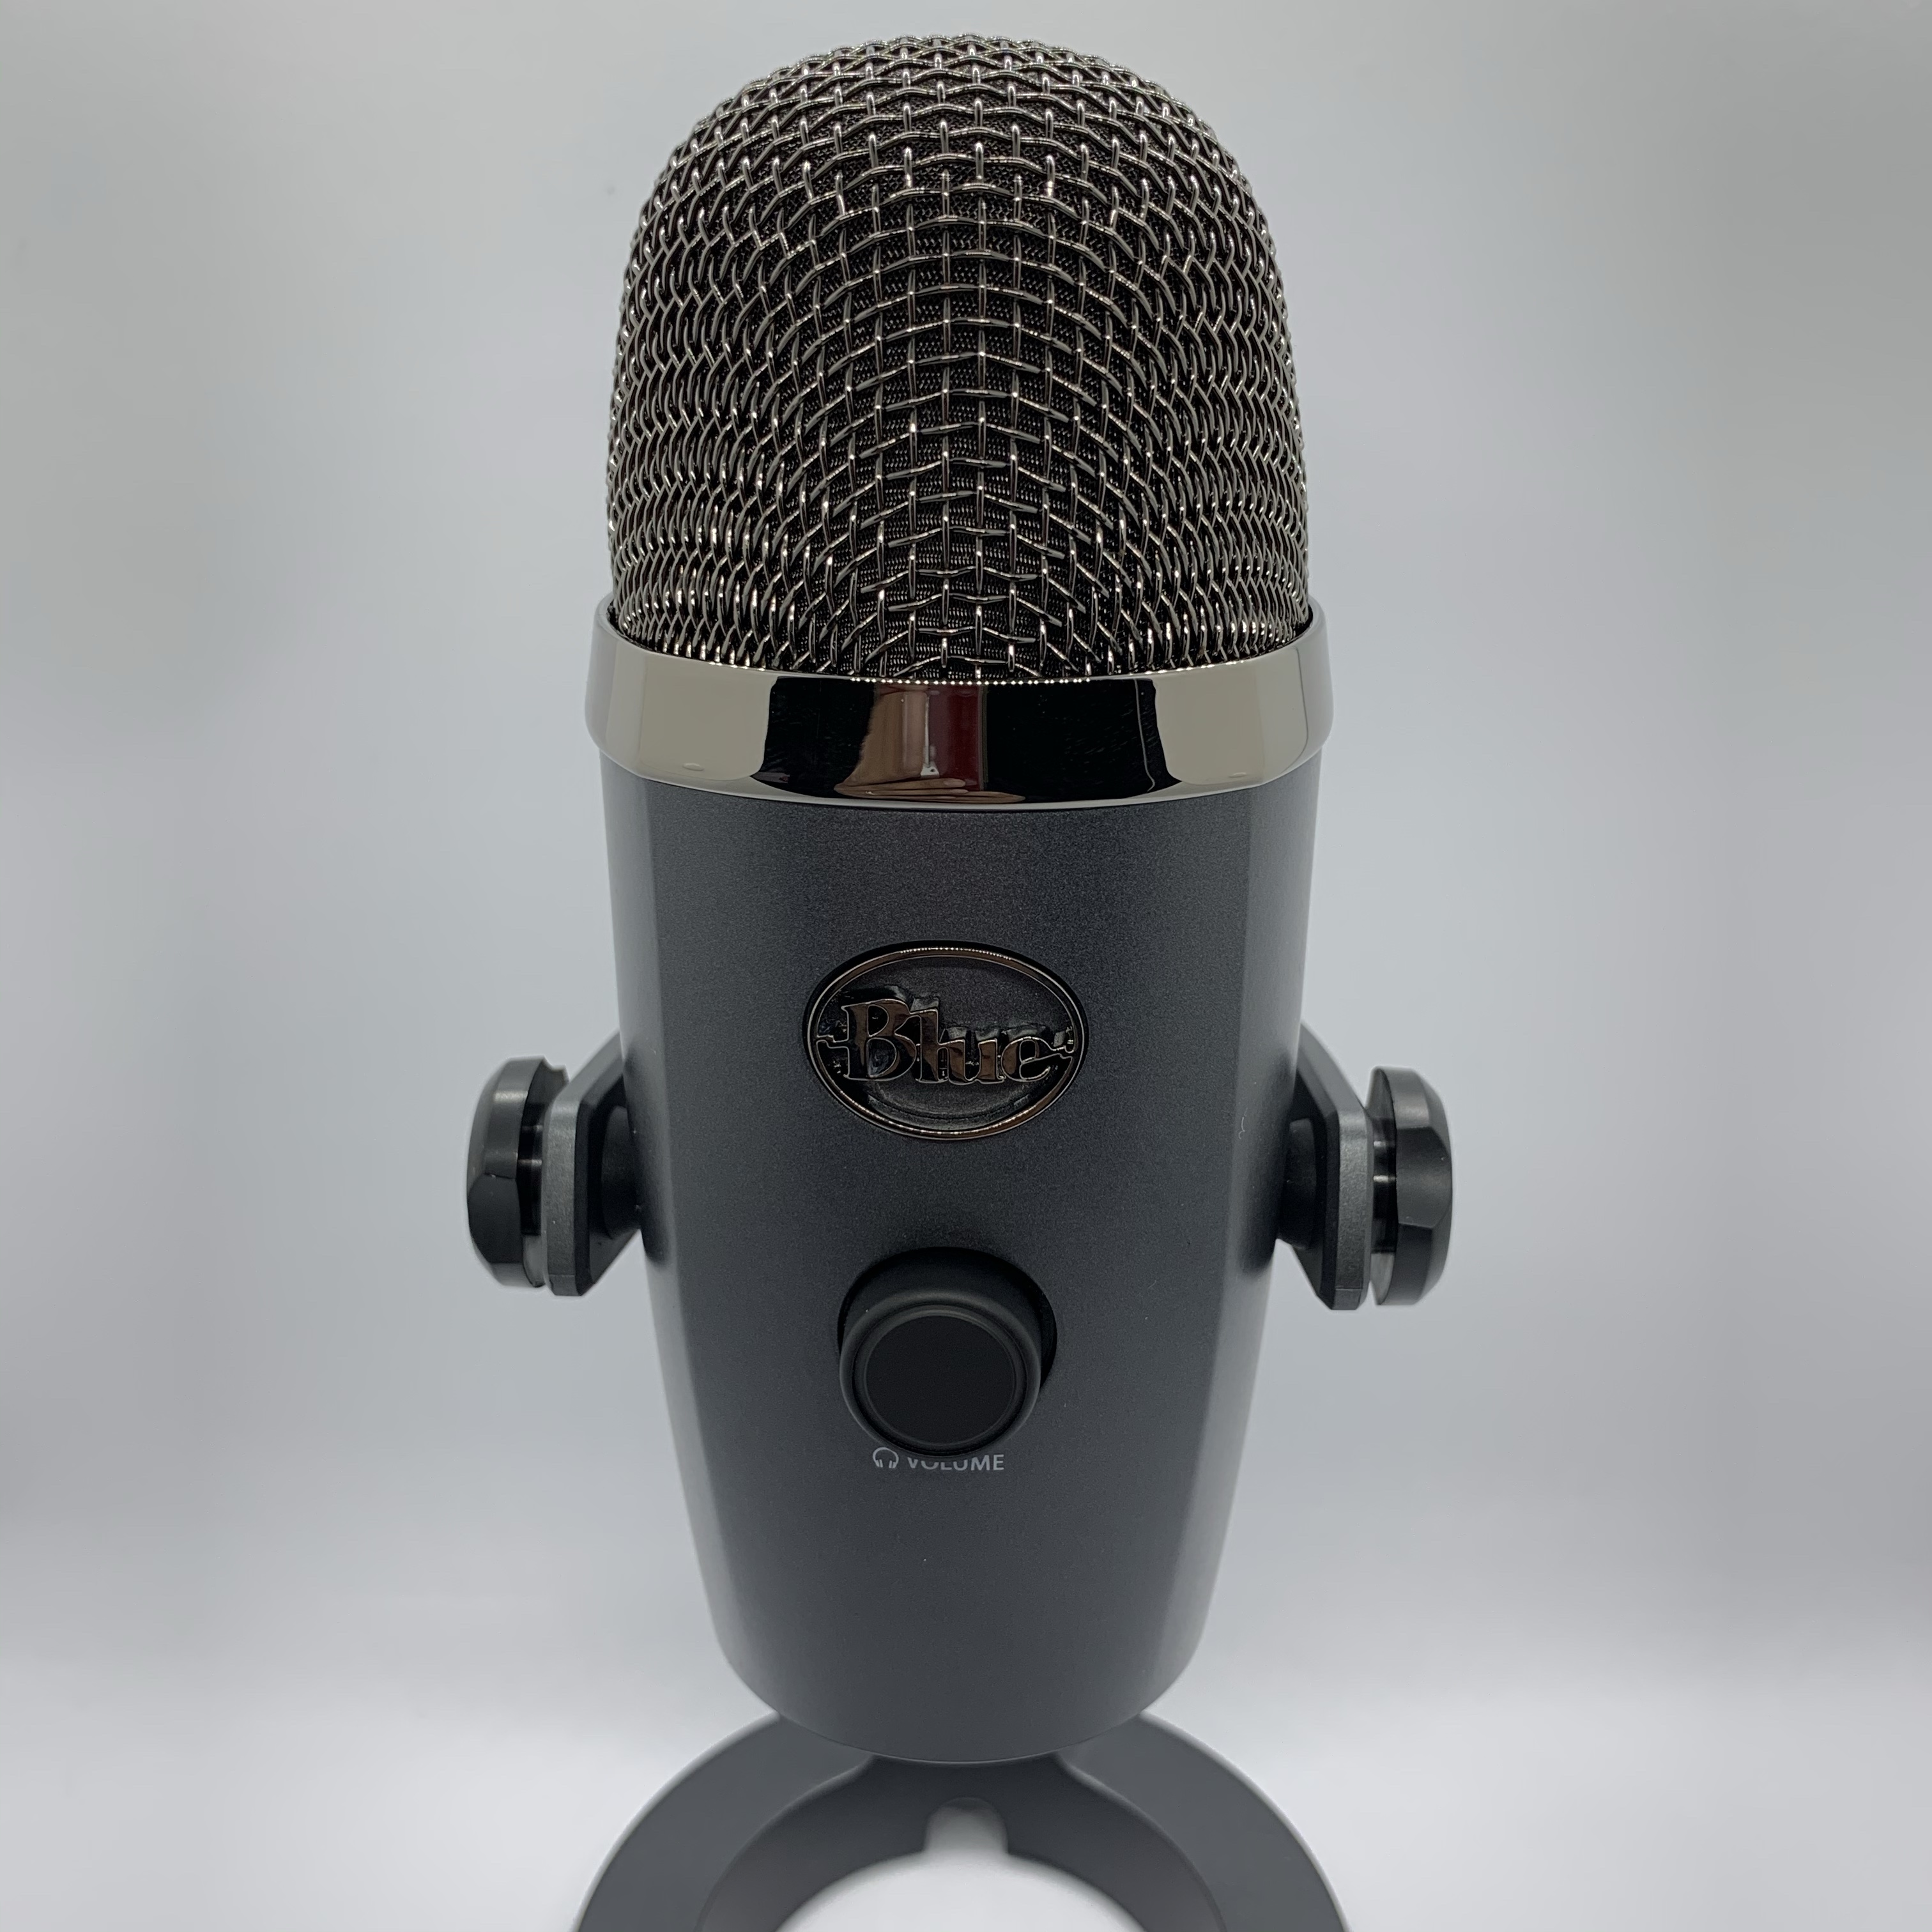
5. Set up your microphone properly
Whether you’re using a headset mic or a high-end XLR mic, your mic won’t sound its best if it’s not configured properly. You’ll need the tight set of filters and noise gates to make any mic you have sound its best! Follow the guide below to configure your mic.
ADDITIONAL READING: Microphone Setup Guide
6. Set up your camera properly
Webcams generally look crummy and maybe even laggy out of the box. You can fix a lot of the issues by properly configuring your camera. Make sure you manually adjust your white balance, brightness, exposure, and colour correction to get the most out of your camera.
ADDITIONAL READING: Webcam Configuration Tips

BONUS: Your camera is going to look like crap regardless of its quality if your lighting is poor. Webcams in particular need lots of light in order to look good. You don’t necessarily need studio lights or ring lights to start. Any light sources you may have lying around could do the trick, from opening the blinds to a nearby window, to pointing a desk lamp at your face. Any additional light helps!
7. Playing PC Games? Optimize your game settings for streaming!
Having just started streaming PC games, I have come to learn that you can’t just crank your games to max settings and have games look their best on stream. Certain games just look subpar on stream – such as Overwatch – due to video encoders struggling to capture all of the game’s effects. For the best viewing experience, refer to streaming guides for individual games to see what the best in-game settings are.

8. Do you have global elements on your stream such as a recent follower or recent subscriber widget? Use scene nesting to manage every element in one place!
Many streams feature on-screen widgets that appear on multiple scenes. Naturally, you would add those widgets to every scene the appear in. The problem is that when you want to move that widget, you have to move it on every scene it appears on.

Instead of moving multiple instances of that widget on every scene, make one scene with all of your widgets. Then in every scene you want the widgets to appear on, click add source and add your new widget scene as a source. Now you only need to edit the widget inside the one scene in order for it to change globally.
ADDITIONAL READING: Scene Nesting
![]()
9. Experiment with scene transitions
By default, OBS switches scenes with a fade effect. However, there are other transition options built into OBS, such as cuts or custom stingers that you can design and upload yourself.
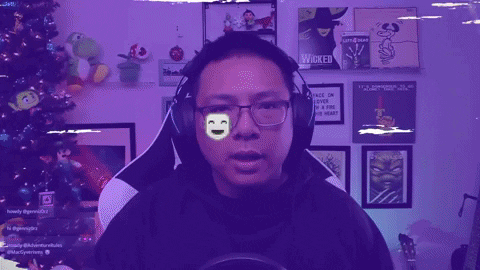
For example, my rap intros use the cut transition. This allows me to quickly transition between scenes for a presentation that looks more like a music video, which simply isn’t possible with the standard fade effect.
![]()
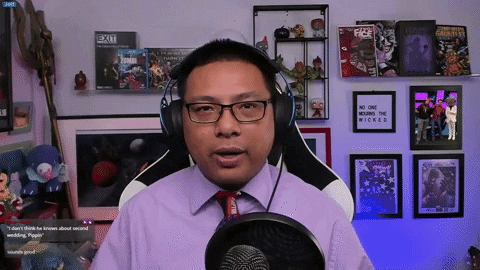
That said, most of my stream doesn’t actually use the cut transition. In order to get different types of transitions for different scenes, right click on the unique scene, pick “Transition Override”, and then select what transition you want to use.
![]()
Meanwhile, most of my stream uses an animated transition effect where elements resize and slide around the screen. This particular effect isn’t actually a part of the standard OBS transition set and I don’t have my own guide for how to set this up. Note to self, make a guide on how to implement Move Transition into OBS.
Instead, I’ll refer you to Nutty’s guide on how to implement scene transitions and smooth animations in OBS. Nutty is an OBS god and much of what I know I have stolen from him.
If you implement this plugin, you can do a lot of crazy stuff with it beyond your camera view rescale as it moves from your gameplay scene to your intermission scene. For example, my “Big Brain” Channel Point effect is powered by Move Transition, allowing viewers to recreate the math meme by zooming way into my face. Again, note to self, write a guide on how to do effects like this too.
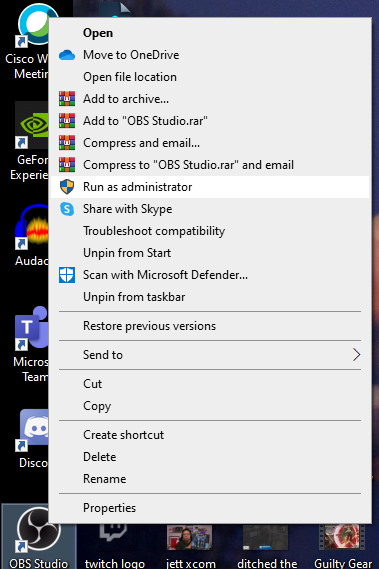
10. Explore the world of third-party plugins to add even more functionality to your OBS setup
The biggest benefit to using OBS over Streamlabs OBS is that it supports third-party plugins that give you more control over your streaming output. Streamlabs by comparison is a walled garden by design that will never have the same level of functionality as standard OBS. If you really want to push your stream to its technical limits, OBS is the clear option.
 For example, sources being triggered randomly by viewers in the chat through Channel Points is done through LioranBoard.
 Censoring my camera is done through a plugin called OBS Shaderfilter.
 The autograph effect is created with a series of plugins working together, including LioranBoard, Freeze Effect, and StreamFX.
These are just a handful of tricks you can unlock by adding third-party plugins to your setup. For more information on plugins, check out the link below!
ADDITIONAL READING: My Favourite Third-Party Plugins for OBS
BONUS TIP: Always Run OBS As an Admin
Introduced in version 24.0.3 of OBS, you can reprioritize how your GPU distributes resources to OBS and other apps by running OBS as an administrator. By running OBS as an administrator, you will provide OBS with more GPU resources, which should lead to fewer dropped frames. This is especially important for those who stream and play PC games at the same time on the same computer, but everyone should use OBS in admin mode to minimize frame drops.
Even More Tips
Fingers crossed that this set of OBS tips gets your stream closer to where you want it to be. If the tips above aren’t enough, here are a few more tips to check out!
Overlay Design Trick for 4:3 Aspect Ratio Retro Games
What Equipment Do You Need to Start Streaming?
Monitor Your Console Game Sound and Streaming Notifications from One Audio Source
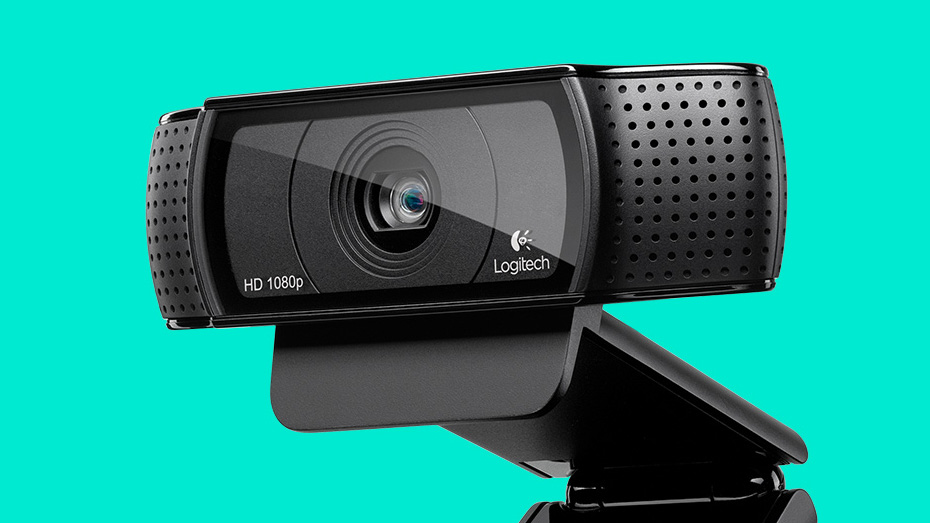 Buy the Logitech C920 Now From Amazon.com
[Purchasing through this Amazon affiliate link gives me a small commission without adding any extra cost or effort to you. Thanks for your support!]

Reblogged this on DDOCentral.