
Making improvements to your stream doesn’t always have to involve spending money. If anything, the best improvements one can make don’t involve money at all. But for streamers on a budget, knowing where to make adjustments without breaking the bank can truly take you farther than spending money on the latest equipment.
Here are a few thought-starters for ways you can improve your stream without spending big bucks on new equipment!

Optimize Your Microphone Settings
You don’t need a top-tier microphone setup on Twitch to get by. However, there is a quality floor that you really should surpass. At the very least, you want to be heard at a comfortable volume without viewers losing you in the mix when you speak softly or blowing their ears out when you yell.
Regardless of what mic you have, it won’t live up to its potential if it isn’t configured properly. Make sure to configure your mic with the right combination of noise gates, noise filters, compressors, EQ, and limiting to make whatever you make sound as best as it can.
Not sure where to start? Feel free to follow my microphone setup guide as a starting point. From there, fine tune the parameters to best fit your voice. All of this can be done for free on your physical mixer, streaming software, or with free VST plugins. Your viewers will greatly appreciate the quality bump when set up correctly!
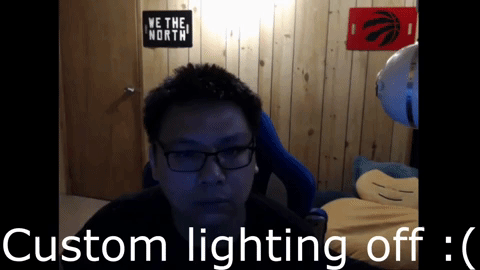
Rework Your Lighting
Even the best cameras can look awful with terrible lighting. Webcams are particularly prone to outputting a grainy or subpar image due to a lack of light going into their sensors. The fix? Lights.
You don’t necessarily need studio-grade lights to improve your camera. Just to get you off the ground, you can suffice with desk lamps, LED light strips, or any light source that will make it easier for the camera to see your face. Even sitting by a window and streaming during the day can improve your camera output by a considerable margin. Having lights in your face will take some adjusting to, but it will greatly improve your image quality.
Manually configure your camera, especially if you use a webcam
Webcams are plug-and-play devices in the sense that you plug them in and viewers can see your face. However, they oftentimes do a horrible job of showing you at your best while also making the camera lag if you leave the default settings on. For ages, my picture looked awful because I had no idea how to properly configure my camera.
Learning how to manually configure your webcam properly will dramatically improve the image quality and reduce camera lag. Turn off the automated settings for everything except auto focus if you really need it. Otherwise, turn that off too.
Manually adjust your exposure. This controls the amount of light being picked up by your sensor. The higher the number, the more artificially brightened your shot gets, the more your camera will lag. On my Logitech C920 and Logitech Brio, I find that -6 is the magic number and anything -4 and up will cause lag. Tweak these values to what works best for you.
Manually adjust your white balance. By default, my Logitech cameras look washed out. I find that a white balance of 5,000 works best for me. Again, set it to what works best for you.
Unless you absolutely need it, turn off your low light compensation. If your room is well-lit, you won’t need this. Turning this off will also reduce the lag from your webcam.
If your streaming software or webcam software has it, tweak your colour correction to create an image that best matches what your scene actually looks like. You can use the video above as a starting point.
Also a note, particularly for Logictech webcam users. Their cameras don’t save your settings between sessions, which means you have to reset your camera every time. There is a workaround of sorts, but I find the controls that the Logitech G Hub software provides too limiting. Whatever your process is, make sure you tune your camera before every stream.

Add a Stream Controller
As much as I adore the Elgato Stream Deck, you likely don’t need to invest hundreds of dollars into one if you’re just starting out. What I think is more important for you is to start with some sort of streaming controller, as it’s way easier to switch scenes, mute mics, trigger sound effects, or create other cool actions with a single button press instead of fumbling with your mouse and digging through menus in your software.
There are free options out there that turn your phone into a streaming controller. If you use Streamlabs OBS, try the Streamlabs Deck. If you’re on regular OBS, consider Touch Portal or Stream Deck Mobile. With any sort of streaming controller, you will streamline your workflow while also expanding your creative possibilities.

Got a second camera? Use it! Even if it sucks!
The top reason why anyone watches any stream is because they want your companionship. Whether they’re there to actively chat with you, lurk, or have your stream on in the background while they wash dishes, they tune in because they want to be in your presence. That’s even more important than the games that you choose to play.
If you have a camera, you’ve got a huge leg-up on streamers that don’t. If you’ve got a second camera – whether it’s a spare webcam or the camera built into your laptop – you can further strengthen that connection with your audience while also expanding your creative possibilities. Even if the camera is bad, that ultimately won’t matter. As a secondary view, it’s not necessary for it to be to be great, especially if you use it creatively.
I use my second camera as a room cam. The space I stream in is a big part of the experience and this camera allows you to feel more at home. It also allows me to show things on stream that wouldn’t be visible otherwise.
There are many other ideas one could implement with a second camera. You can mount it over your hands so users can see your controller inputs. You can mount it behind you as a “third person perspective” camera. You can even leverage software that allows you to use your phone as an extra camera. Having a free-roaming vlog cam could open the doors for so many possibilities!

Decorate your backdrop
Not everyone has a clearly-defined space to stream. But if you have the ability to decorate the space you’re in, do it! Your backdrop serves as a canvas to show viewers who you are and why they should connect with you. Dress it up with whatever you have!

Set up a low-budget green screen
Maybe you don’t have (or don’t want) to show your room. Maybe you like that look of the streamer floating overtop of the game. You don’t necessarily need to buy an expensive green screen or paint your walls green to create the effect. You can use green Bristol board as well. Tape it to your wall and make sure it’s well-lit.
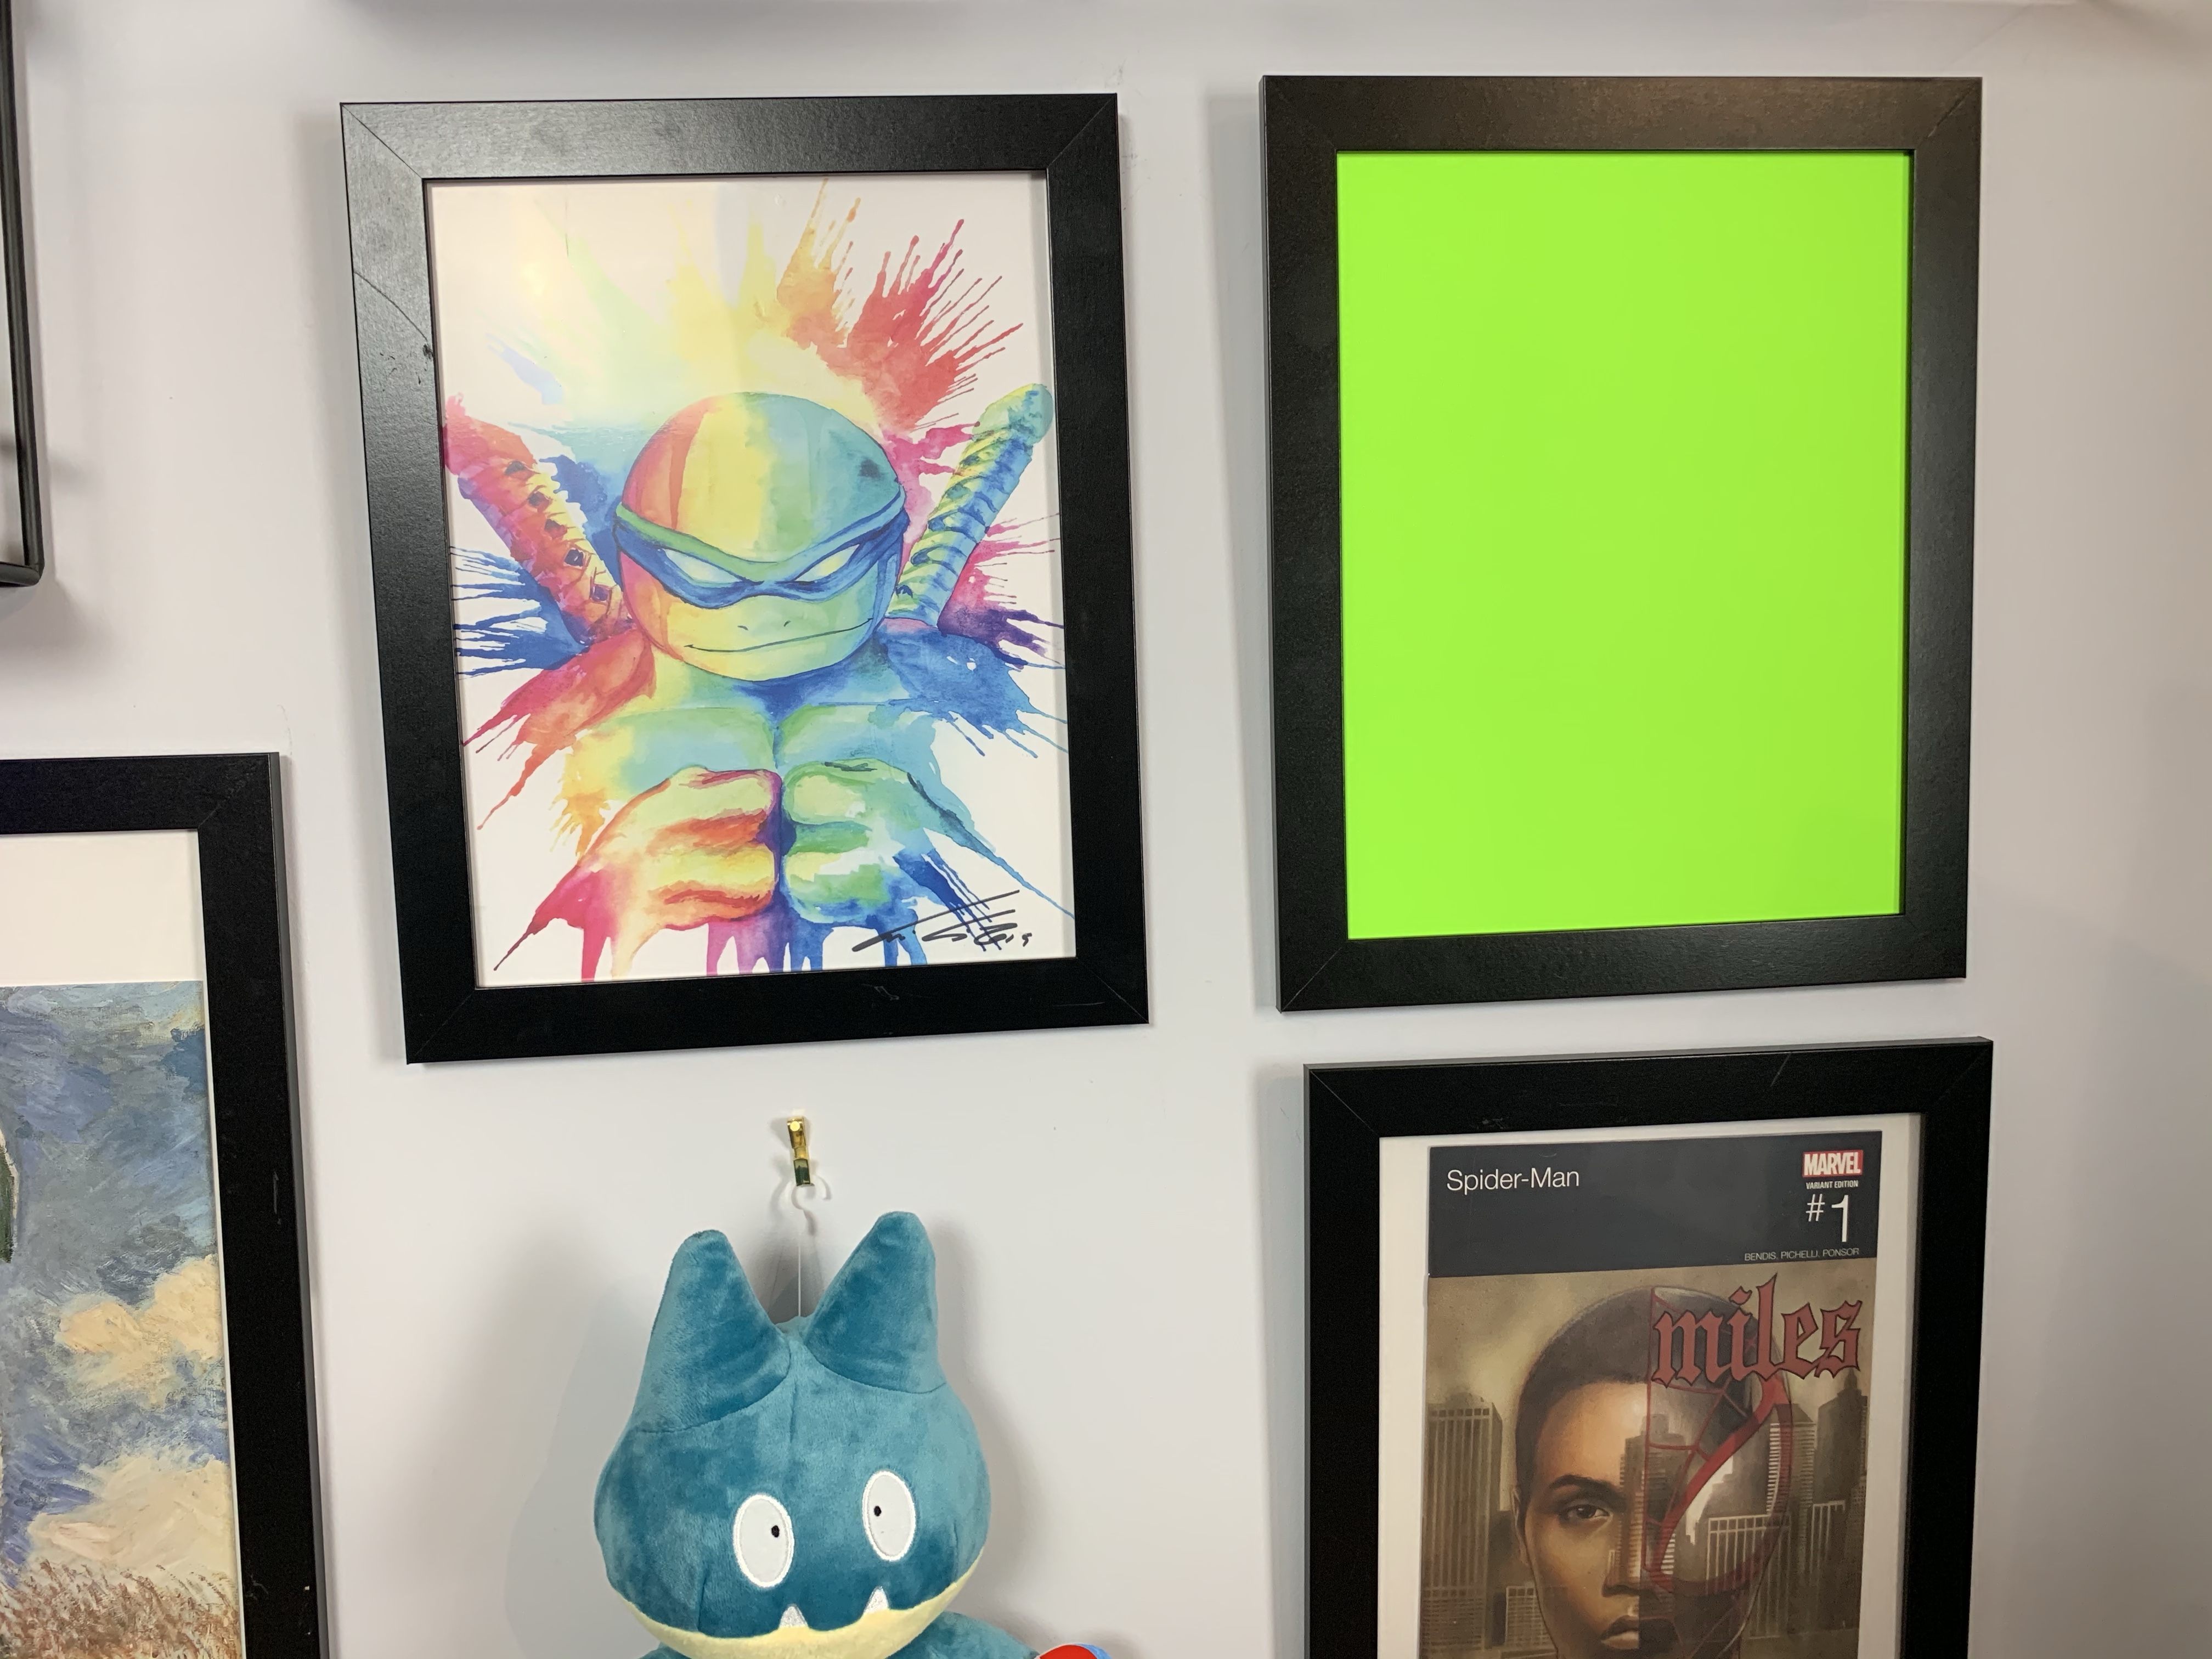

I don’t use a full-blown green screen, but I recently implemented a green screen frame. Cutting a piece of Bristol board and placing it in a frame, I now have the ability to display digital images, video, and chat emotes within that frame. It creates a really cool hybrid of the physical and digital worlds!
Get creative with your overlays
Whether you make your own overlays or you bought a design from somewhere else, think beyond the standard screens that we all see, such as your standard gameplay view with you in the small box and the intermission screen where your camera is the focal point.
One simple trick you can do is to replicate your intermission view, expand your webcam feed, then crop it to the desired size. Switch between this and your original intermission screen and you’ve got a zoomed-in view. Perfect for focusing on your face to create memes, showcase your face during big reactions, or give viewers a clearer look at items you’re holding up.
You can go way farther than that if you put your mind to it. I’ve added a concert scene and a paint-swiping overlay to spice up my music segments. I have added rain and sad music to chime in during dark moments. As of writing, I’m working out the kinks of a celebration effect that involves money raining down from the sky.

One of my favourite examples of a streamer who pushes scenes to the limit is The Sushi Dragon. While I don’t expect anyone to wear a stream controller while dancing and creating memes in real time, he takes the idea of scene and source switching to the absolute limit with incredible results.
You don’t have to go as far as him, but what can you do in between that brings your content to a new level? Really think about all of the ways that your overlays and design elements can have a positive impact on the viewing experience. From there, get weird!

Add fun channel point rewards
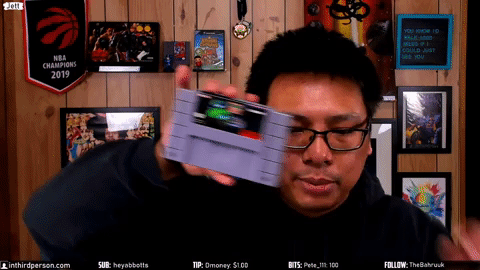
Channel Points are a woefully-underutilized feature on Twitch. By default, there’s no way for viewers to cash in points and get rewarded without the streamer having to stop the stream to fulfill the reward. But with apps like LioranBoard or Touch Portal, you can create all sorts of cool rewards that impact the stream without you having to skip a beat.
For my stream, the Shiny Snorlax has been an absolute game-changer. Caught in the hype of wanting to overcome the 2% catch rate, many viewers are willing to watch my stream for extended periods of time in order to gain enough points for another shot. Hopefully, they enjoy my company along the way!

It can be a pain to set up, but the creative possibilities with the technology are almost limitless. Other examples from my stream include being able to blast my air horn, take snapshots with funny captions, have Haley insult me, power me up with Super Saiyan hair, and many more. When done correctly, you give viewers fun ways of interacting with the stream while also making the content better for everyone.
Interested in setting up Channel Point rewards? Start with this guide!
 Go beyond video games

Viewers are more interested in seeing you than they are in seeing whatever game you’re playing. Show them other sides of you by trying different things. Maybe play some board games. React to videos on the internet (while being mindful of avoiding content that will get you a DMCA). There are so many opportunities for content beyond gaming for you to explore!
Maybe even dabble in IRL streaming. For the cost of $0, you can get Streamlabs on your phone (iOS/Android) and stream directly from it. I use it to stream my spray paint art sessions, but it doesn’t necessarily need to be that involved, either. You could use it as part of a cooking stream. Maybe take a walk with your viewers. Whatever you do, don’t limit your content to just playing the same games at the same desk!
Expand Your Reach
Streaming is an amazing platform for creating engagement with your viewers. However, it’s awful when it comes to reach and content shelf life. Your success on Twitch can be largely impacted by one’s ability to find you in the category directories, which can feature thousands of streamers above you in the listings. Furthermore, once the stream is done, a lot of that content’s value is lost by virtue of viewers not being able to interact with you anymore.
Your best way for others to find you is by expanding your reach to more discoverable platforms. Though it’s best that you create original content for each platform, you can repackage some of your best highlights to work on more discoverable platforms, such as Twitter and Instagram.
For example, my absolute best non-marathon Twitch streams can draw upwards of 200 views, though they usually draw between 20-50. Meanwhile, the 11-second clip of me hitting this one Overwatch shot got viewed over 400 times and reached over 600 people. During my Stardew Valley run, highlights of Haley dissing me generated more views than the full streams where those events actually happened. When you find the right clips and edit them in such a way that they’re more consumable on other platforms, you can leverage your content to reach a much wider audience than you could by just streaming.
If you’ve got the bandwidth, expand into original content on more discoverable platforms. During my brief run on YouTube, I hit gold with a video I made about Fuser. At over 3,000 views and counting, this 10-minute video generated more views than my last five months of live views on Twitch.
[Note to self: I really need to get back into making original YouTube content.]
And it doesn’t necessarily have to be a video-based platform that you expand to. If you’re already writing a blog (which many readers of this site are), use that! Embed your stream onto your site. Promote the stream on your site. Share cool moments from past streams. Write about your experiences as a streamer. Your blog can also act as means of reaching an audience that otherwise wouldn’t find you on Twitch. Some of my best friends in the streaming space are fellow bloggers because of our shared connections between both spaces.
Expanding your content pipeline is a tremendous amount of work, even if you are repurposing streaming content for other platforms. However, for the price of your time and creativity, you could dramatically expand your awareness and reach by creating content elsewhere and driving those users to your Twitch stream.


Reblogged this on DDOCentral.